📋 TL;DR • Reliable starting point: Use a camera-specific Log-to-Rec.709 conversion LUT before a creative look. • Most portable format: A properly labeled .cube file is the format you can import into Resolve, Premiere Pro, and Final Cut Pro, but compatibility does not guarantee a correct result. • Useful free look libraries: Color Grading Central, Fresh LUTs, FilterGrade, Motion Array, Innergrade, IWLTBAP, and Juan Melara’s print film emulation set each offer creative starting points with different download and workflow trade-offs. • Safest workflow: Balance exposure and white balance to scope targets first, apply the LUT at reduced strength (usually 40% to 60% mix as a starting point), then match shots and re-check skin tones.
Download a camera-specific Log-to-Rec.709 conversion LUT first, then a creative .cube look on top of it. Panasonic’s Creator’s LUTs and PremiumBeat’s free Log pack are built around Log footage, DaVinci Resolve’s built-in LUT browser costs nothing, and Color Grading Central, Fresh LUTs, FilterGrade, Motion Array, Innergrade, ON1, IWLTBAP, and Juan Melara’s print film emulation LUTs supply the creative looks. Most are .cube files, the one LUT format Resolve, Premiere Pro, and Final Cut Pro all import, but no free file replaces correct exposure, white balance, and color-space setup.
A LUT is a mathematical color transform, not a magic “make it cinematic” button. It assumes an input color space and output color space, so the same file can look natural on one clip and crushed, neon, or gray on another. Separating technical conversion from creative styling is a simple way to avoid that problem, because a wrong input assumption is a common source of unexpected color.
What to download: conversion LUTs vs. creative looks
Start by identifying what your footage needs, because a conversion LUT and a creative LUT solve different problems.
A conversion LUT changes the image into a known viewing space, such as Rec.709. A creative LUT changes mood, contrast, hue, or film character after the footage is already normalized.
Log-to-Rec.709 conversion LUTs
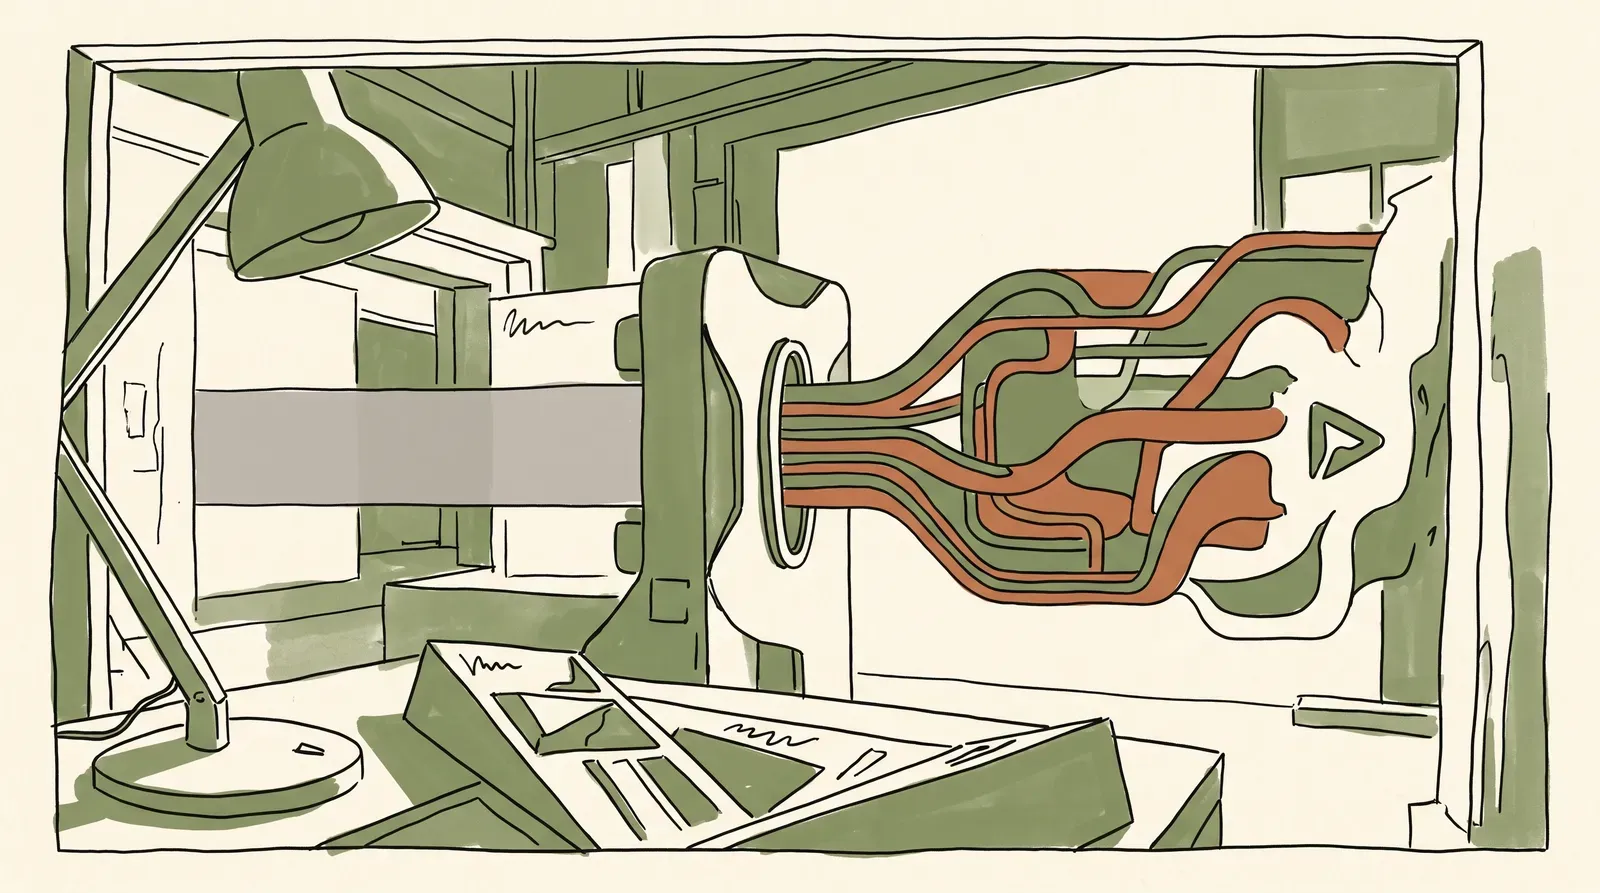 Log conversion LUTs map flat Log footage to a standard such as Rec. 709; a creative look is a separate step. Abstract illustration, not real footage.
Choose a conversion LUT when your footage was recorded in a Log or wide-dynamic-range profile and appears flat, low-contrast, and desaturated. The input must match the camera profile: Sony S-Log3 is not the same input as Panasonic V-Log or Blackmagic Film, so read the pack’s camera and gamma labels before applying anything.
For camera-specific work, start with the manufacturer’s technical LUTs or your editor’s color-management tools. Final Cut Pro can detect Log metadata and apply built-in camera LUTs, while custom camera LUTs can be imported as .cube or .mga files (Apple Support, 2026). That is safer than grabbing a generic “cinematic” LUT and hoping it also performs the technical conversion.
Creative looks and film-emulation LUTs
Use a creative look after your clip is balanced and in the timeline’s working space. These LUTs are useful for a warm commercial feel, cool shadows, faded highlights, monochrome contrast, or a film-inspired palette. They are starting points: lower the mix, protect skin tones, and make shot-to-shot corrections after the look is in place.
Creative looks are also where the biggest compatibility misunderstanding appears. A .cube file may import into all three editors, but a pack designed for Rec.709 footage can behave badly when placed directly on Log footage. If the creator does not state the input, preview the LUT on a color chart or a representative clip before grading a full sequence. If you need practice footage for that test, our roundup of free b-roll websites can help you find source clips that hold up under color correction.
Which free video LUTs and presets are worth downloading?
Start with the no-download options and a camera maker’s own LUTs, then test every creative pack on your own footage before it goes near a client project.
These picks are organized by use case rather than by download count. The first group helps normalize footage or establish a controlled base; the second group is for creative styling. Check the license and the pack’s stated input color space before using a download in paid client work.
A pack is worth keeping or discarding on three test frames: a daylight exterior, a mixed-light interior, and a close-up with skin tones. That small test set exposes wrong input assumptions much faster than a flattering hero shot.
These three fail conditions are working rules of thumb, not an industry standard, but they let you reject a pack in about a minute:
- Highlight clip: the waveform hits a flat ceiling on the daylight exterior at full strength, and highlight detail does not return when you reduce the mix.
- Skin drift: the face on the close-up moves more than about 2° off the vectorscope skin-tone line it sat on in your original balanced shot. If the subject matches the Caucasian reference bands in the workflow section below, also check the waveform highlights against them; for other skin tones, compare against the original balanced shot instead.
- Cast on neutrals: a wall, shirt, or gray card in the mixed-light interior takes on a color that no amount of white-balance correction removes without wrecking the rest of the frame.
A pack that fails one of the three is not automatically useless. It means the LUT expects a different input than the clip you fed it. A pack that fails all three on Rec.709 footage is probably baked too hard to grade under, and reducing the mix usually will not rescue it.
1. DaVinci Resolve’s color page: a no-download starting point
Resolve is the easiest place to begin if you want to learn color management before collecting external packs. Blackmagic’s official training page lists the free Resolve download next to the $295 paid Studio version, so you can learn the workflow before spending anything. Its Color page includes primary and secondary grading tools, and the training materials there cover scopes and color management instead of treating LUTs as one-click filters.
Use it for: learning nodes, testing technical transforms, and building a repeatable base grade. Watch for: a LUT can be placed before or after other corrections in a node tree, so its position changes the result. Add a serial node for the technical transform, then use later nodes for contrast, skin, and style.
2. Panasonic Creator’s LUTs: a camera-maker option for V-Log
Panasonic’s Creator’s LUT page is a good first stop for compatible Lumix V-Log footage because the source profile is explicit. The page publishes nine named looks from three creators (DAY FOR NIGHT, GRITTY CINEMA, VINTAGE VIBES, FADED SUMMER, CHASM LAKE, DARK FLORAL, DUSTY EARTH, LEAFY GREENS, and LOCK BOX FOREST), and each one carries an explicit input note (Panasonic, 2026). Eight are labeled “To be applied for V-Log.” FADED SUMMER is the exception: it is labeled “To be applied to V-Log to Rec709 converted LUT,” meaning it goes after the conversion, not instead of it. That one footnote is the whole conversion-versus-creative distinction, printed by the manufacturer.
Use it for: Lumix footage that needs a known V-Log transform or a manufacturer-provided look. Panasonic’s REAL TIME LUT function, added from the LUMIX S5II, also bakes these in-camera on the S5II, S5IIX, and G9II using .VLT or .CUBE files, with no post-processing step at all. Watch for: a camera LUT is not automatically correct for a different camera, gamma curve, or timeline color space. An in-camera bake is not reversible later, either. That is a shooting decision, not a grading one. Download the files from Panasonic’s official Creator’s LUT page, linked above, and keep the profile name beside the file.
3. PremiumBeat free Log LUTs: a broad camera-profile roundup
PremiumBeat’s free Log collection is useful when you need several camera-oriented starting points in one place. The page identifies the pack as 17 free LUTs and explains that the .cube files can be used in Premiere Pro, Final Cut Pro, and Resolve (PremiumBeat, 2017).
Use it for: testing a conversion workflow across common Log profiles. Watch for: the page is an older resource, so confirm that the camera profile and editor behavior still match your project before a client export. Treat it as a practical source of candidates, not as a substitute for a current camera manufacturer LUT.
4. Color Grading Central CineDream free LUTs: a guided look browser
Color Grading Central offers 100 free looks through its CineDream installer (Color Grading Central, 2026). The appeal is the preview workflow: you can inspect looks on footage and export selected LUTs as .cube files instead of opening a folder of anonymous filenames. That makes it easier to compare subtle film, stock, and genre-inspired looks without losing track of what you chose.
Use it for: creative looks when you want live previews and a curated starting set. Watch for: the installer is part of the workflow, and the page asks for an email delivery step. The looks are not camera conversions, so normalize Log footage first and reduce the mix if contrast or saturation jumps too far.
5. Fresh LUTs: a large community library
 A few varied test frames, drawn here as simple vignettes, show a wrong input assumption faster than one flattering preview. Illustration, not footage.
Fresh LUTs is a searchable community library rather than one tightly edited pack. Its homepage carries the site-wide banner “Over 3 Million Downloads,” and individual uploads show their own counters. The Severn LUT listed 256,601 downloads and PictureFX CineStill 800 listed 177,237 when we checked on October 1, 2026 (Fresh LUTs, 2026). Those per-item numbers show which uploads attract downloads, not whether a look will work on your footage. The catalog includes both creative looks and profile-specific options, so you must inspect the input assumptions yourself.
Use it for: finding a niche look, browsing contributor styles, or comparing several approaches before settling on a grade. Watch for: inconsistent naming and licensing details between uploads. Keep a small test project with daylight, indoor, skin-tone, and high-contrast clips so you can reject a LUT quickly instead of judging it on one attractive shot.
6. FilterGrade free cinematic LUTs: a compact .cube pack
FilterGrade’s free cinematic pack includes eight .cube LUTs, a help file, and tutorial links (FilterGrade, 2024). It is a manageable download for creators who want a handful of recognizable looks without sorting through hundreds of files.
Use it for: a quick creative pass on Rec.709 footage, travel edits, and short-form projects. Watch for: “cinematic” packs often push contrast and color separation. Apply the LUT on an adjustment layer or node, lower its opacity or key output, and correct the brightest highlights before you decide whether the look belongs on every shot.
7. Motion Array free LUT library: useful for browsing by style
Motion Array’s free LUT library filtered by exactly three styles (Creative, Cinematic, and Retro) alongside an All view in an archived copy of the page. The free tier looked small: with the Free filter applied, that copy returned two packs on a single results page, Prism Tones LUTs and Hue Haven LUTs, each with a “Choose a format” step at download (Motion Array, 2026). The live page returned an HTTP 403 anonymous-access block when we tried it on October 1, 2026, so check the current catalog yourself. Treat it as a browse-and-sample surface rather than a library you can build a look system on.
Use it for: quickly comparing restrained, retro, and high-color treatments. Watch for: the free listing sits inside a subscription marketplace, so most of the catalog you scroll past is paid, and individual downloads can have different file formats and licensing terms. Read the item page rather than assuming every result has the same usage rights. The Motion Array free LUT page is a discovery surface, not a guarantee that every listed file fits your footage.
8. Innergrade free cinematic LUTs: straightforward cross-editor files
Innergrade’s free pack was listed as .cube files with support for Premiere Pro, Final Cut Pro, and DaVinci Resolve in a 2025 archived copy of its page. If that still holds, it is a simple choice when you want to move a small look library between editors without rebuilding the grade as editor-specific effects.
Use it for: a small shared look folder across a team. Watch for: the archived copy delivers the pack through an email form, and the word “cinematic” does not describe the correct input. The site also went down on us: the Innergrade free LUT page returned an HTTP 522 error on repeated attempts in August 2026 and again on October 1, 2026, which is a good argument for archiving any free pack you rely on to your own drive rather than trusting a vendor page to still be there next year. When it loads, download it, then label copies with “Log,” “Rec.709,” or “unknown” as you test them.
9. ON1 free LUTs: useful for matching photo and video color
ON1’s free LUT collection is organized into nine named groups: Color Boost, Nature & Wildlife, Black & White, Cinematic, Landscape, Lifestyle & Commercial, Moody, Portrait, and a partner set from Lutify.me listed as “Partner: Lutify.me • 10 LUTs.” The page states that “all packs work with ON1 Photo RAW 2018.5+, Lightroom, Photoshop, and any app that supports .CUBE files” (ON1, 2026). That ordering is the tell: the collection is written for photo apps first, and video editors are the “any app” at the end of the list.
Use it for: brand content that needs still-image and video color to feel related. Watch for: some looks are designed around photography use cases, so evaluate highlight roll-off and motion consistency on video before adopting them for a whole project.
10. Premiere’s Lumetri presets and Final Cut’s built-in camera LUTs: zero-download presets
Before downloading anything, check the presets already included in your editor. Premiere Pro’s Lumetri Color panel accepts an input LUT; Adobe’s help page, updated in January 2026, shows how to add existing LUTs or browse to a LUT saved on your system (Adobe, 2026). Final Cut Pro also includes camera LUTs and lets you import custom ones through the inspector.
Use it for: learning what a look does before installing a larger pack, or handing a project to someone who does not share your download folder. Watch for: editor-native presets do not travel as cleanly as .cube files. If a Premiere or Final Cut project will move to Resolve, export a reference still and document the color space rather than assuming the preset has a one-to-one equivalent.
11. IWLTBAP free sampler: a test pack plus a Log-to-709 conversion set
IWLTBAP sells a large commercial pack, listed at $25 for 325+ LUTs, but publishes a free entry point built for the job that decides whether any pack earns folder space: evaluation. The site offers a “Download 10+ LUTs for testing” ZIP (about 65 MB), four individually named free looks (Aspen, Sedona, Arapaho, and Humble), and a separate LOG ⇄ 709 LUTs Conversion Pack (IWLTBAP, 2026). The paid pack’s file list, which the same page publishes, is the useful bit of documentation: standard, LOG, V-Log, tints, gels, and utility LUTs, shipped as .CUBE and .3DL.
Use it for: running a real evaluation before you spend money, and for the two-direction conversion set when you need to move footage into and back out of Rec.709. Watch for: the free tier is a sampler by design, so the named looks are not a complete style system. Note also that .3DL is not a universal substitute for .cube. Resolve reads both, but check your editor before you archive a folder in the wrong format.
12. Juan Melara’s print film emulation LUTs: a colorist’s free technical set
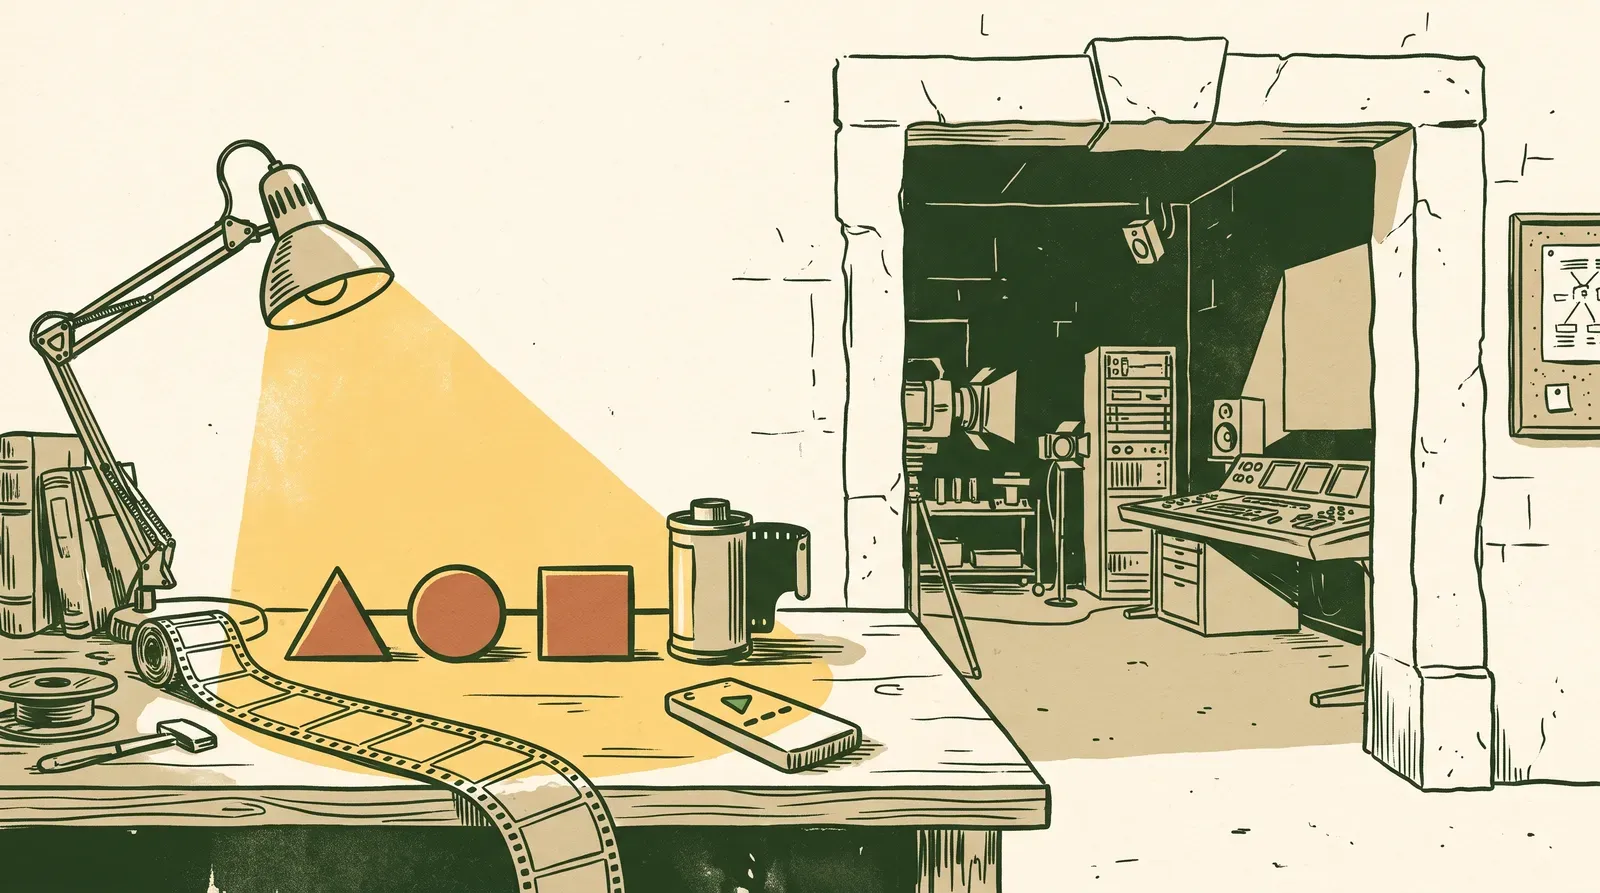 Melara’s print film emulation LUTs expect log film scans in Rec709 as input, so a transform comes first. Illustration of the setup, not a screenshot.
This entry stands out because its source documents the expected input clearly. Colorist Juan Melara publishes free print film emulation (PFE) LUTs (files that preview how an image would look printed onto a film stock) along with the setup they require (Juan Melara, 2021). He writes that he uses PFE LUTs on maybe 70% of his TV commercial work and maybe 90% of his narrative work. His paid PowerGrade versions rebuild the same stocks as editable Resolve node trees: Kodak 2383, Kodak 2393, Fujifilm 3510, Fujifilm 3513DI, and Fujifilm 3521XD.
The free page is worth reading even if you never download a file, because it states the input requirement in plain terms: “PFE LUTs expect log film scans in Rec709 colour space as their input.” The recipe he gives for getting there is specific: put a Color Space Transform node ahead of the PFE LUT, set Input Gamma and Input Gamut to your camera’s, then set Output Gamma to Cineon or ARRI LogC and Output Gamut to Rec.709. The same habit of checking a LUT’s expected input applies to any LUT whose creator documents one.
Use it for: a film-print look that behaves like a real transform instead of a contrast preset, and for learning what “input color space” actually means in practice. Watch for: footage under a PFE LUT can look dark and too contrasty at first, and it may also lack saturation. Melara says that, unless you are using negative film emulation, this is normal rather than a broken file. Correct it with contrast/pivot and the offset master rather than reaching for a second LUT. The post dates from 2021, so confirm the current Resolve UI names before following the screenshots literally.
🚀 Picked your packs? Decide where the graded video will live. All this color work is wasted if the embed adds distractions, ads, or a slow start on the page. See how SmartVideo delivers branded, ad-free video on your website with a CDN-accelerated player and no related-video leakage.
How to use a free LUT without damaging the grade
The safest LUT workflow is short: identify the footage, normalize it, balance it, apply the look, then check scopes and skin tones. The steps differ slightly by editor, but the reasoning is the same.
1. Identify the input before importing the LUT
Look at the camera profile, gamma, gamut, and whether the clip is Log, HLG, RAW, or already Rec.709. If you do not know the input, do not apply a technical LUT yet. A creative look can still be previewed on a copy of the clip, but label it as a visual experiment rather than a correct grade. If you are still building the edit, this video-editing workflow guide covers the cut, audio, and export steps around the grade.
2. Balance exposure and white balance first
 Skin tones and highlights get checked against the waveform and vectorscope before a look goes on. Abstract illustration, not a screenshot of any editor.
Correct obvious exposure and white-balance problems before styling. A LUT maps the values it receives; it cannot know that a face was underexposed or that a room was lit by a green practical. A thirty-second balance pass prevents far more LUT “fixes” than trying packs at random.
Give yourself numbers to hit rather than balancing by eye. On the waveform, Larry Jordan’s guide places the maximum highlights of a female Caucasian face between 50% and 75%, and a male face a little darker at 45% to 65% (Larry Jordan).
On the vectorscope, that face should sit directly on the skin-tone line (the axis between yellow and red) at roughly 40% saturation for female skin and 35% for male, and no more than about 2° above the line (Larry Jordan). Those are reference points, not laws. Darker skin sits lower on the waveform while holding the same hue axis, which is exactly why the line matters more than the brightness number. Use the parade to remove a cast on a neutral surface before you check either one.
3. Apply the conversion before the creative look
Keep technical conversion and creative styling on separate nodes, layers, or effects. In Resolve, that can mean a color-managed input transform or a technical LUT followed by a creative node. In Premiere, use the Input LUT field for the camera transform and a separate Lumetri effect for the look. In Final Cut Pro, use the camera LUT or custom camera LUT for conversion, then add a Custom LUT effect for styling.
Where the downloaded .cube file actually goes
Steps 3 and 4 assume the LUT is already in the list. Getting it there is the part most download pages skip. Each editor has one folder it reads and one refresh action that makes new files appear.
| Editor | Where the file goes | How it shows up |
|---|---|---|
| DaVinci Resolve | macOS: /Library/Application Support/Blackmagic Design/DaVinci Resolve/LUT/Windows: C:\ProgramData\Blackmagic Design\DaVinci Resolve\Support\LUT | Project Settings > Color Management > Open LUT Folder, drop the files in, then Update Lists above that button. |
| Premiere Pro | Anywhere on disk. Lumetri browses to it. | Lumetri Color > Basic Correction > Input LUT > Browse for a technical conversion, or Creative > Look > Browse for a creative look. |
| Final Cut Pro | Anywhere on disk. FCP imports a copy. | Select the clip, Inspector > Info > Camera LUT > Add Custom Camera LUT, then set Output Color Space. |
Two details save the most time here. On Windows, use Resolve’s own Open LUT Folder button to open the LUT directory, then add the files and refresh the list (Boris FX, 2026). In Final Cut Pro, you can import 3D LUT files with the .cube and .mga extensions (Apple Support, 2026), so a .3dl download may need converting before it will load.
Premiere is the odd one out: browsing to a file each time works, and you can install custom LUT files so they appear in the Creative tab. Keep technical conversions and creative looks in two clearly named folders on disk; that maps directly onto the Input LUT versus Look split in the panel (Boris FX, 2026).
4. Reduce intensity and check the whole sequence
 Pulling the LUT’s mix back from full strength keeps the look from doing the correction work. Abstract illustration, not measured footage.
A look that works on one hero shot may fail on a cloudy exterior or a mixed-light interview. Apply the look at full strength once to see what it actually does, then pull the LUT’s mix, key output, or effect opacity down. Most creative looks hold up best between 40% and 60% mix, a practical starting range rather than a measured rule, and a look that only survives at 100% is doing correction work that belongs in a node of its own.
Watch two things as you pull it back: the face settling back toward the balanced reference from step 2, and the brightest highlight coming off a flat 100% ceiling. If a LUT still needs extreme correction to look usable, choose a different base rather than stacking more fixes on top of a bad one.
5. Export a short proof before rendering the project
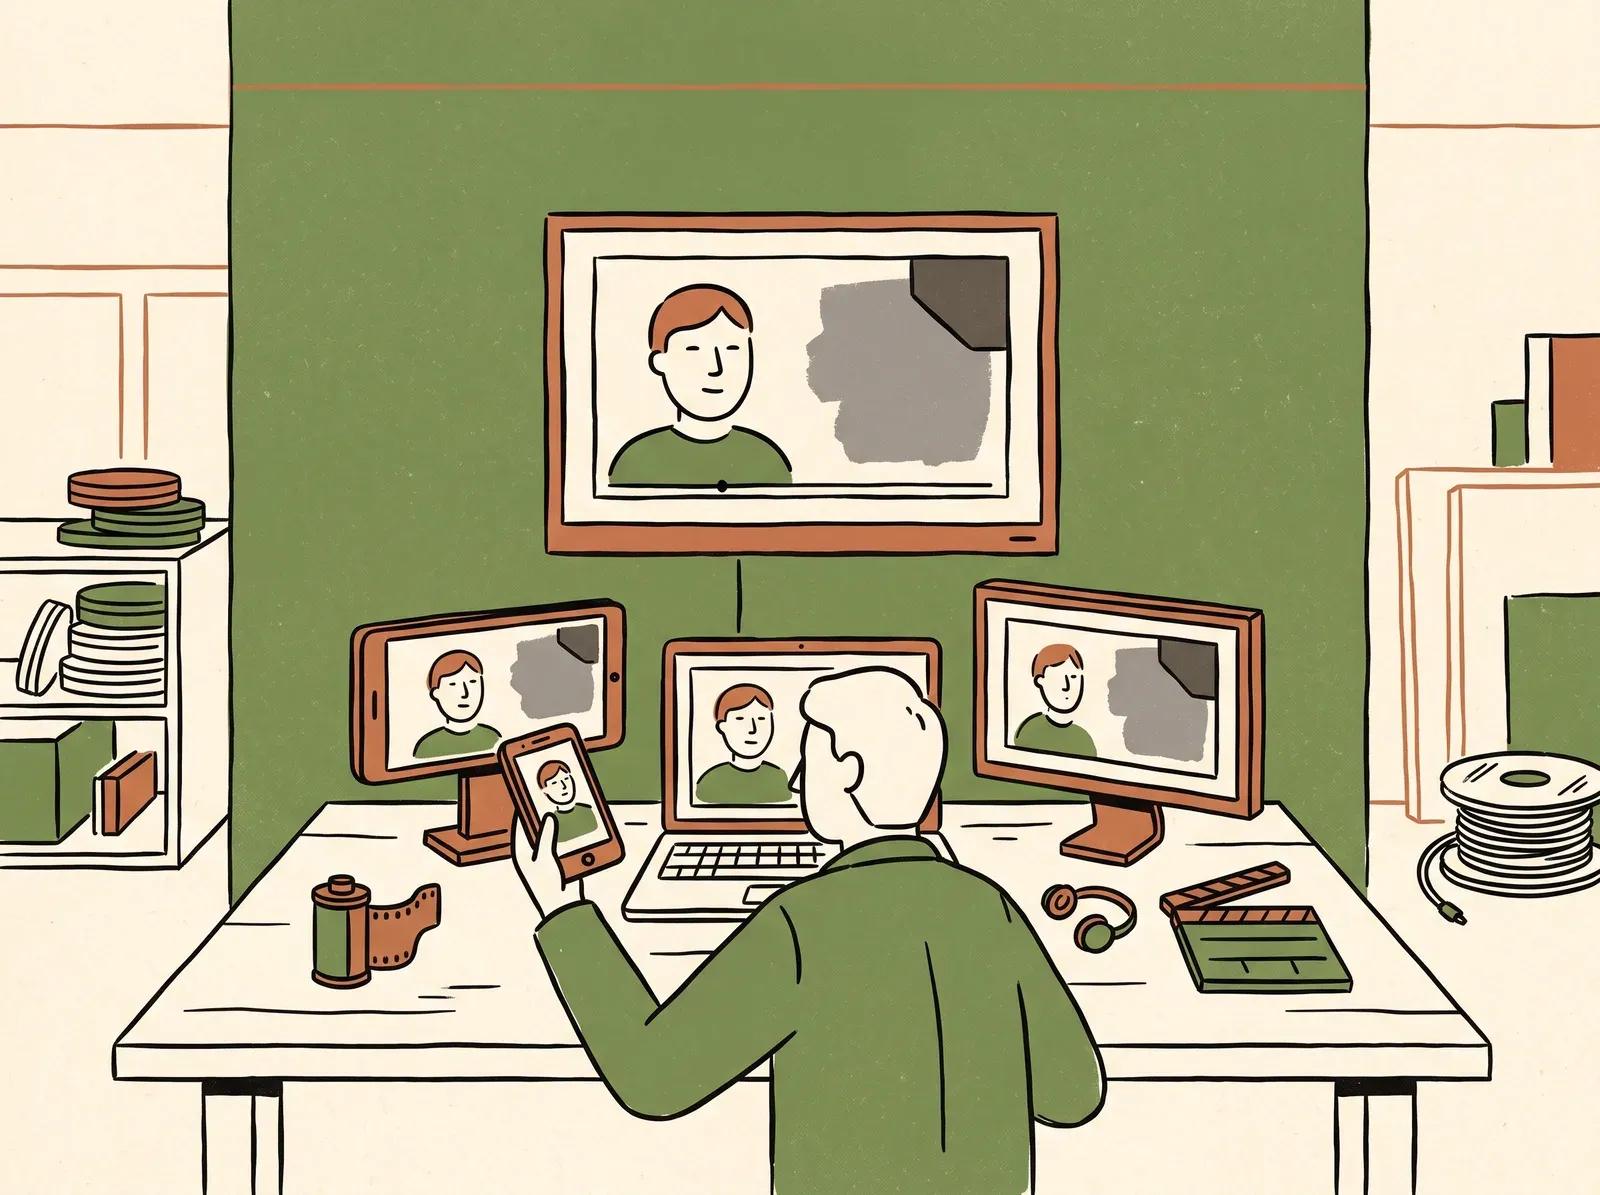 One short proof, checked on every screen your audience is likely to use, shows problems a single monitor hides. Abstract illustration, not a screenshot.
Render a short sample that includes a face, a neutral surface, bright highlights, and a dark area. Watch it on the devices your audience uses and check for clipped channels, banding, oversaturated reds, and crushed shadows. Save the LUT name, input profile, mix level, and any manual corrections in the project notes. If the proof shows banding, the export settings are the next thing to check, and our guide to video bitrate settings is a good place to start. For the next delivery step, pair that proof with a captioning workflow so the finished edit is ready for silent playback as well as sound-on viewing.
Resolve, Premiere, or Final Cut: which workflow fits?
All three editors can use .cube LUTs, but they encourage different working habits.
| Editor | Strong fit | LUT caution |
|---|---|---|
| DaVinci Resolve | Node-based technical and creative grading, scopes, and color management. | Node order and timeline color space change the result. |
| Premiere Pro | Fast editing with camera LUTs, Lumetri looks, and adjustment layers. | Input LUT and creative effect are separate decisions; do not confuse them. |
| Final Cut Pro | Metadata-aware camera LUTs and quick custom LUT effects on Mac. | Wide Gamut HDR, Standard, and SDR workflows can produce different tone mapping. |
If the final video is going on a website, export a web-ready master after the grade instead of uploading an enormous camera-original file. Our guide to choosing a video format for a website covers the container and codec choices that come after color work, while our guide to video speed and conversions explains why the delivery encode matters after the creative work is finished. Resolution is a separate delivery decision, and SD vs HD vs 4K explains how the common sizes differ.
If the graded video supports a sales page or product explanation, video landing-page planning helps you place it where the viewer has a clear next step. If search visibility matters, document the final title, thumbnail, and transcript before using video schema markup.
What LUT mistakes should you avoid?
Four avoidable mistakes can undermine a free-LUT grade, and each is covered below.
Applying a creative LUT directly to Log footage
This is the fastest route to a strange grade. The look was built for a particular input, and Log footage has not yet been transformed into that expected range. Add the technical conversion first, or choose a LUT explicitly labeled for your camera’s Log profile.
Judging a LUT from the preview image alone
A preview may use a perfectly lit model, a carefully exposed chart, or a scene that flatters the look. Test every candidate on your own difficult shots: mixed lighting, pale skin, deep shadows, green foliage, and bright windows. A good LUT should leave room for correction instead of forcing every clip toward one extreme.
Stacking several LUTs to repair the first one
Stacking can be useful when each LUT has a clearly defined purpose, but it is a poor rescue strategy. If the first transform clips highlights or shifts skin tones, another look layered on top will not restore the missing information. In practice, one LUT at a reduced mix is easier to correct than three stacked at full strength, so return to the input and output assumptions and pick a milder transform.
Ignoring usage rights
“Free download” does not automatically mean unrestricted commercial use. Save the license page or readme with the files, especially when a pack comes from a marketplace or a community library. Client work, paid ads, redistribution, and resale can have different terms.
How to organize a free LUT library
A free LUT library stays useful only when every file’s purpose is clear from where it is stored.
 Technical, neutral and creative LUTs each get their own labeled place, as in the structure below. Abstract illustration, not a screenshot.
Keep the folder small enough to use. A practical structure is:
- 01 Technical: camera, Log, gamut, and Rec.709 conversion files.
- 02 Neutral looks: low-contrast options for interviews, tutorials, and product footage.
- 03 Creative looks: film, warm, cool, monochrome, and stylized options.
- 04 Tests: a still frame, preview export, license, and notes for each pack.
Rename only copies, not the original files, and preserve the creator’s input and output labels. If a file is undocumented, mark it “unknown” until you test it. That label prevents more accidental misuse than adding another dozen looks to the folder. Keep .3DL files and Premiere .look presets in their own subfolders, because Boris FX notes that .look presets only work inside Premiere (Boris FX, 2026).
For the rest of the production workflow, pair the grade with a clear export plan. For product footage, these product-video best practices connect the look to framing, pacing, and the viewer’s next action.
FAQ
These answers cover the file-format, workflow, and licensing questions that come up most often with free LUTs.
What is the difference between a LUT and a color preset?
A LUT is a color transformation, commonly distributed as a .cube file, while a preset can bundle multiple editor-specific settings such as exposure, curves, grain, and saturation. A LUT travels more easily between Resolve, Premiere Pro, and Final Cut Pro, but a preset can offer finer controls when it stays inside one editor. Always check whether a download is a technical conversion, a creative look, or a full effect recipe.
Can I use the same .cube LUT in Resolve, Premiere, and Final Cut?
You can import many .cube files into all three editors, but the result may differ because each project can use a different working color space, tone mapping behavior, or effect order. Final Cut Pro supports custom .cube camera LUTs, Premiere Pro can browse to a LUT from the Lumetri Color panel, and Resolve can load LUTs into its LUT folders. A shared file is portable; a shared color pipeline is what makes it consistent.
Should I apply a LUT before or after color correction?
Apply a technical conversion at the stage where your color-management workflow expects it, then balance the converted image before adding a creative look. A creative LUT often behaves more predictably after exposure and white balance are corrected. If you are using a technical LUT as part of a manual workflow, test its placement with scopes because node or effect order changes the output.
Do LUTs work on iPhone or phone footage?
Yes, but phone footage is often already transformed into a display-ready color space, so a Log conversion LUT can make it look harsh or oversaturated. Use a creative look designed for Rec.709 or standard phone footage, and check whether HDR video needs tone mapping first. Record a short test with skin tones and a bright window before applying the look to a full mobile edit.
Why does my LUT make the image too dark or too saturated?
The LUT probably expects a different input profile, exposure level, or white balance than the clip you supplied. Check the creator’s camera and gamma labels, then lower the LUT mix or key output and correct exposure manually. If highlights are clipped after the transform, switch to a LUT designed for the actual input instead of trying to repair it with another LUT.
Are free LUTs safe to use in commercial video?
Some are, but the answer depends on the individual license. Keep the download page, readme, or license text with the LUT files and check for restrictions on paid client work, advertising, redistribution, and resale. A free pack that requires attribution or excludes commercial use is not interchangeable with a pack released for unrestricted projects.
How many LUTs should I keep in my editing library?
Keep a small working set: a few technical conversions for the cameras you actually use, several neutral looks, and a limited creative group for recognizable styles. A huge folder slows decisions and makes shot matching harder. Add a test still and input-output note to each saved LUT so you can identify a usable file without guessing from its filename.
Should I grade video before uploading it to a website?
Yes. Finish the color grade and export a web-ready master before uploading, because a website player should deliver the finished image rather than perform color processing in the browser. Keep a high-quality master for future edits and create the web encode from that master so compression does not compound an already clipped or over-saturated grade.
Which LUT file formats do Resolve, Premiere Pro, and Final Cut Pro accept?
Final Cut Pro imports 3D LUT files with the .cube and .mga extensions, according to Apple’s Final Cut Pro documentation. Boris FX’s DaVinci Resolve guide names .cube and .3DL as the two main formats Resolve uses, and its Premiere Pro guide says Premiere accepts .cube files plus its own .look presets, which only work inside Premiere. That makes .cube the one format all three editors share, so a .3DL or .look file may need converting before it travels to another editor.
What is the difference between a technical LUT and a creative LUT?
A technical LUT changes the color space or converts Log footage, while a creative LUT gives footage a look. Boris FX’s DaVinci Resolve guide sorts LUTs into those two categories, and Apple’s Final Cut Pro documentation makes the same split between log conversion and stylizing a clip with a look. In practice both kinds are often .cube files, so the creator’s input and output notes are the only reliable way to tell which one you downloaded.
What should you remember before downloading a free LUT?
Free LUTs are most useful when they shorten the first pass without hiding what the footage needs.
Choose a profile-matched conversion, balance the image, add a restrained creative look, and test the finished export before you build the whole video around it. If you are still choosing where the finished video will play, this comparison of website video players and our look at how slow video hurts conversions cover the next decision. Once the grade is ready, SmartVideo gives the finished video a branded, ad-free place to play on your website with CDN-accelerated delivery and no related-video distractions.