

How to Reduce Video File Size Without Losing Quality (2026 Guide)
Make a video smaller without turning it blurry: choose the right destination, preserve the master, and use practical settings for sharing, mobile, and websites.


To reduce video file size without making it look blurry, keep the original master, choose the destination first, then trim or re-encode a copy with the right resolution, bitrate, and codec. A file for email needs a different compromise from a file for editing, social media, or a business website.
• Preserve quality: Trim dead space or remux the file when you can; those steps do not re-encode the picture.
• Make a sharing copy: Use HandBrake's Constant Quality mode at RF 22 for HD sources, then test the result on the device or platform that will receive it.
• Choose settings: Lower bitrate first, reduce resolution only when the destination does not need the original dimensions, and keep frame rate unless motion is unimportant.
• Use a link for large files: Gmail sends files over 25 MB through Google Drive instead of keeping them as ordinary attachments (Gmail Help, 2026).
• For websites: Keep the high-quality master and use adaptive delivery instead of manually shrinking one MP4 for every visitor.
A four-gigabyte export is not automatically a bad file. It may be exactly what you need for a future edit, a broadcast handoff, or an archive. The mistake is treating that master as the only copy you can send or publish.
Most size problems have a cheaper fix than re-encoding: cut the dead seconds, change the wrapper, or send a link instead of an attachment. When re-encoding really is the answer, a handful of export settings decide almost everything, and the phone workflow looks nothing like the desktop one. Aim for a smaller copy that passes a real viewing test—not a percentage promise that ignores motion, grain, subtitles, and audio.
Resolution describes the frame's dimensions. Frame rate describes how many frames play each second. Bitrate is the data allocated over time, so it has a direct effect on size. A codec compresses the video; a container such as MP4 or WebM packages the video, audio, and metadata together. The container name alone does not tell you how efficiently the video is compressed (MDN, 2026).
Choose the destination before you compress
Match the copy to the handoff
Start by answering one question: where will this copy be used? A client proof, a phone-storage copy, an editing proxy, a social upload, and a website video have different limits. If you do not know the destination, make a high-quality viewing copy in a broadly compatible format and keep the master untouched.
Treat every number in this post as a starting point, not a guarantee. YouTube's encoding guide lists target bitrate ranges by resolution and frame rate, and when a platform publishes its own upload guidance, that guidance wins over any generic recommendation—including this one (YouTube Help, 2026).
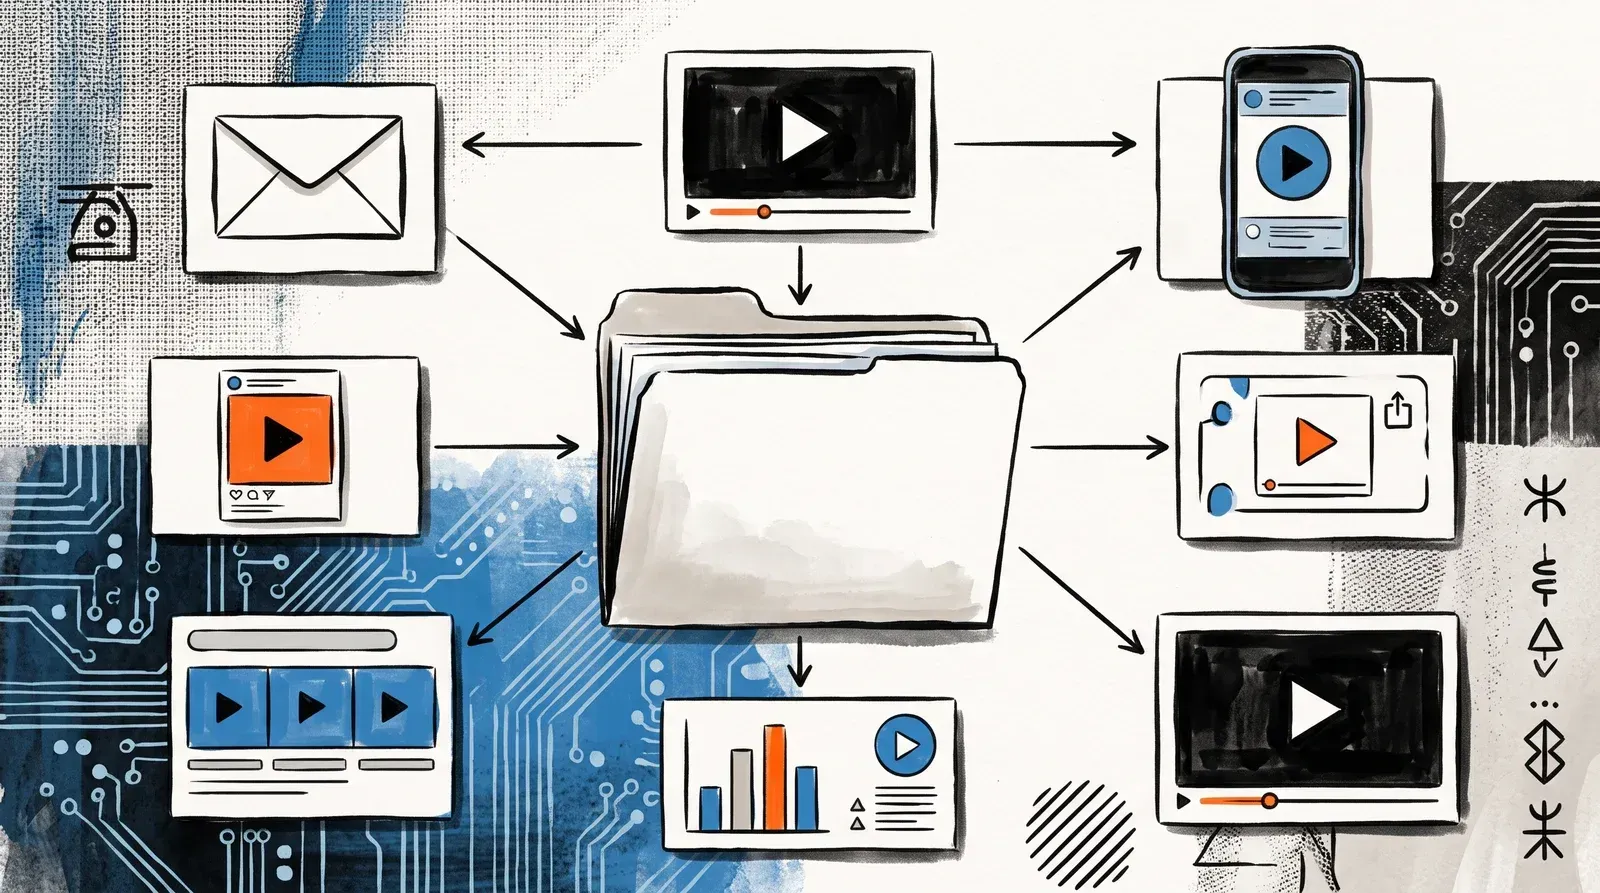
| Destination | Starting approach | What to protect |
|---|---|---|
| Email or messaging | Trim first, then export a shorter 720p or 1080p copy. Send a link if the file still exceeds the service limit. | Readable faces, legible text, and a file that arrives without an unexpected conversion. |
| Phone storage | Remove unused sections and re-encode with Constant Quality. Keep the source in cloud or desktop storage. | The original frame size if you may edit or crop the clip later. |
| Editing proxy | Use a lower-resolution proxy or an intraframe-friendly editing format; relink to the master before final export. | Timecode, audio sync, frame rate, and a clear filename that identifies it as a proxy. |
| Social upload | Match the platform's current dimensions and upload recommendations. Do not compress repeatedly before the platform encodes it again. | Text, gradients, skin tones, and the correct aspect ratio. |
| Business website | Upload the highest-quality source you can retain, then use adaptive renditions and a delivery layer that selects an appropriate stream. | Fast startup, stable playback, captions, and a fallback for unsupported codecs. |
Practical starting settings
The bitrate column holds two different things, and confusing them is how people end up with a blurry attachment. YouTube's published SDR upload guidance describes what a platform wants to receive before it re-encodes: 5 Mbps for 720p and 8 Mbps for 1080p at 24–30 fps, rising to 7.5 and 12 Mbps at 48–60 fps, and 35–45 Mbps for 2160p at standard frame rates (YouTube Help, 2026). A sharing copy that has to fit an attachment is a different job and can start well under those numbers. Source complexity moves both — grain, confetti, and moving water cost more bits than a static talking head, and no table can predict that for your particular footage.
| Use case | Resolution starting point | Frame rate | Codec and bitrate reference |
|---|---|---|---|
| Email or quick proof | 720p when fine detail is not essential | Match the source; test 30 fps for low-motion material | H.264 MP4. YouTube's 720p reference is 5 Mbps at 30 fps (7.5 at 60 fps); for an attachment, start at 2.5–4 Mbps and confirm on-screen text is still legible |
| General 1080p sharing | 1080p when text or product detail must remain clear | Match the source | H.264 for compatibility; YouTube's 1080p reference is 8 Mbps at 30 fps, 12 Mbps at 60 fps |
| High-resolution playback | Keep 4K only when the viewer or edit needs it | Match the source when motion detail matters | HEVC or AV1 after compatibility testing; YouTube's 2160p reference is 35–45 Mbps at 30 fps, 53–68 Mbps at 60 fps |
| Editing proxy | Lower than the master only if the editor can relink cleanly | Keep the source rate for sync | Use the editor's proxy format; optimize for scrubbing rather than delivery |
Methods that shrink a video without re-encoding
Trim the start and end
Cut slate, dead air, duplicate takes, and the few seconds before someone starts speaking. A shorter video contains fewer seconds of audio and video data, so the reduction is predictable. Use your editor's trim function and export a new copy; the original remains available if the cut turns out to be too aggressive.
If you need a fuller editing workflow, this guide to editing videos and choosing export settings covers the handoff between an edit, a proxy, and a finished file.
Remux when the container is the problem
A remux changes the wrapper around the existing streams without decoding and encoding every frame again. It can help when a player expects MP4 instead of a different container, but it does not make a high-bitrate stream magically smaller. Do not confuse changing MKV to MP4 with compressing H.264 video; the codec determines the picture data, while the container organizes it.
Reach for a remux when a player refuses the file, not when the file is too big. HandBrake, FFmpeg, and MKVToolNix all do it in seconds precisely because nothing gets decoded — which is the same reason the size barely moves. If you are unsure which wrapper your destination expects, our guide to video container formats for the web covers what MP4, MOV, and WebM each buy you.
Use ZIP only when you need an archive
ZIP can bundle a video with project files, but it rarely produces a meaningful reduction for an already-compressed MP4 or MOV. Use it for organization or a controlled handoff, not as your main compression method.
Re-encode a copy with HandBrake
For a repeatable desktop workflow, HandBrake gives you a visual interface for choosing the codec, quality mode, audio tracks, dimensions, and output container. It runs locally, which matters when the footage contains customer information, unreleased product details, or private conversations.
Watch for the failures that survive a clean export: a missing audio track, unreadable screen text, or a codec the recipient's player cannot decode. None of them show up in the file-size number you were optimizing, so encode a short sample and open it on the destination device before you commit to the full file.
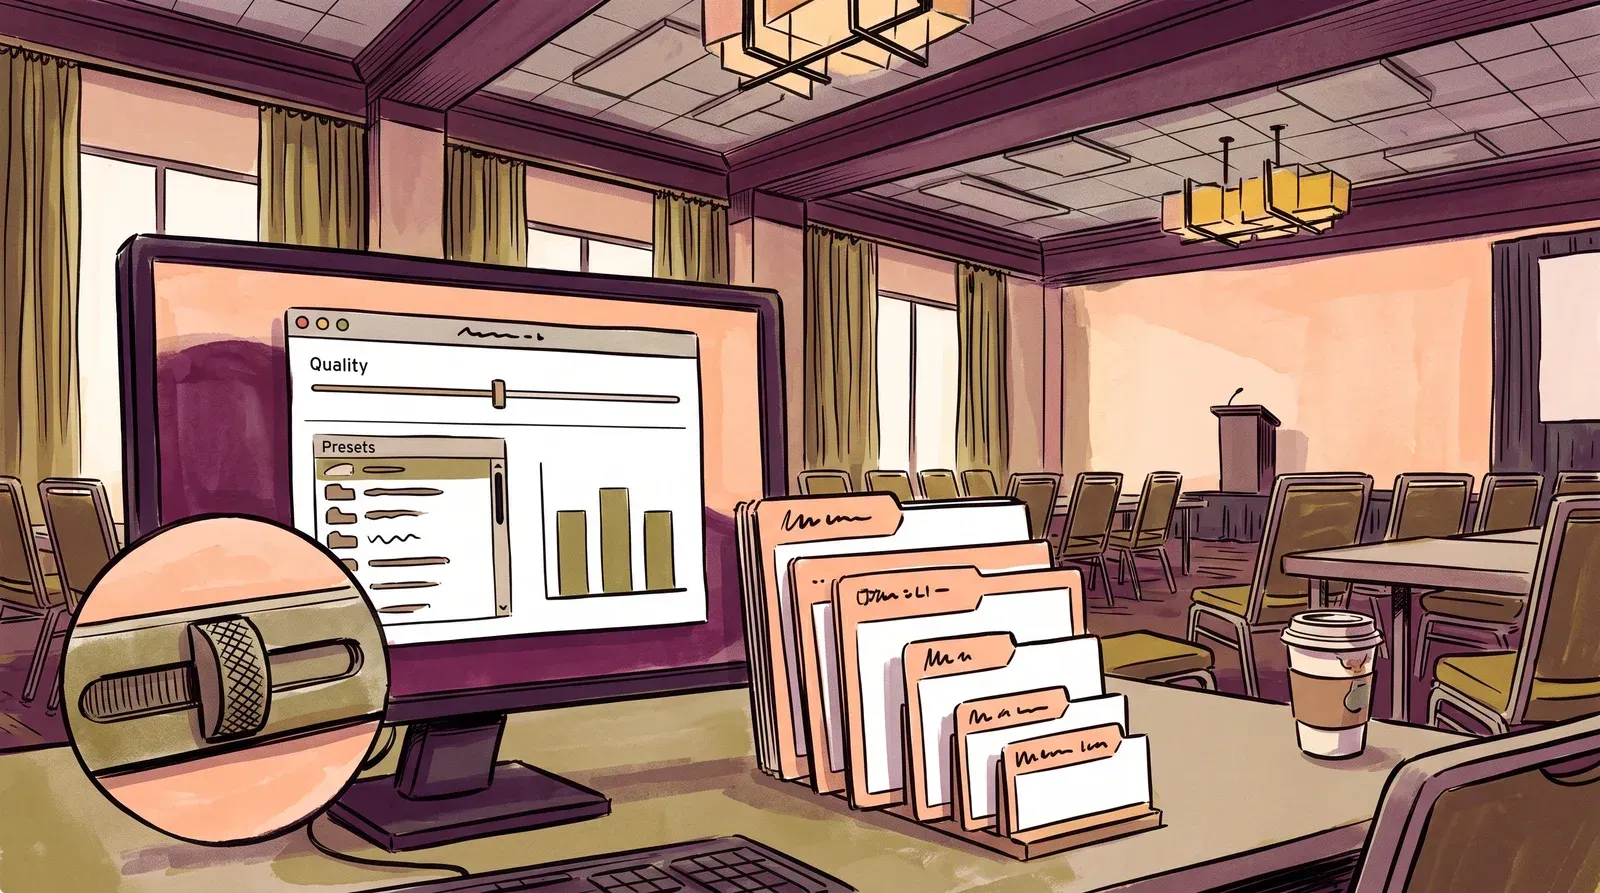
Use this workflow:
- Open HandBrake and select the source video.
- Choose an MP4 preset when compatibility matters, then open the Video tab.
- Start with a Constant Quality setting rather than chasing a file size. HandBrake documents RF 22 with a plus-or-minus one adjustment as a starting point for HD sources; encode a short sample before committing to the whole file (HandBrake documentation, 2026).
- Keep the source frame rate unless the destination has a clear reason to use less motion information. Choose “same as source” when the option is available.
- Remove audio tracks you genuinely do not need. Keep dialogue, ambient sound, music, and accessibility tracks when they are part of the experience.
- Set the output destination, encode, and compare the new file with the source before replacing anything.
Constant Quality adjusts bitrate to meet the quality level, so the output size varies with the source. A quiet interview and a noisy concert can produce very different files at the same setting. HandBrake recommends average bitrate and multi-pass encoding when you must aim at a target size, but that workflow takes longer and puts more responsibility on the chosen bitrate.
No-install options on Windows and Mac
Locked-down work laptop, or one file that has to be smaller in the next ten minutes? Windows and macOS each ship something that will do it, and VLC covers whatever they miss.
- Clipchamp (built into Windows 11): open the clip, choose Export, and pick 720p or 480p instead of 1080p. Clipchamp writes MP4, and 480p, 720p, and 1080p are all available on the free tier — only 4K requires a Microsoft 365 or Clipchamp Premium subscription (Microsoft Support, 2026).
- QuickTime Player (macOS): File → Export As, then choose 1080p, 720p, or 480p. At 4K and 1080p the Format menu offers Smaller File Size (HEVC) or Greater Compatibility (H.264) — choose compatibility whenever you do not know what the recipient will open it on (Apple Support, 2026).
- VLC (Windows, macOS, Linux): Media → Convert/Save, add the file, then pick the Video – H.264 + MP3 (MP4) profile. The wrench icon beside the profile opens bitrate and resolution fields when the preset alone does not shrink the file enough.
The trade-off is control. None of these three exposes a CRF or RF quality target, so you are picking a preset and inspecting the result instead of setting a quality level and letting the encoder find the bitrate. For one file on a machine where you cannot install anything, that is a fair trade. For something you will run every week, HandBrake or FFmpeg produces a better-looking file at the same size.
Use bitrate when a hard file-size limit matters
Constant Quality is a good fit when the output should look consistent. It is a poor fit when a form, email gateway, or upload API rejects anything over a fixed limit. In that case, use average bitrate or two-pass encoding and leave headroom for the container and audio. If you want the reasoning behind specific numbers, we break down bitrate settings by resolution separately.
The basic estimate is:
target size in bits ÷ duration in seconds = total average bitrateSubtract the audio bitrate and a safety margin before setting the video bitrate. Worked through for a 25 MB attachment and a one-minute clip: 25 MB is 26,214,400 bytes, or 209,715,200 bits. Divide by 60 seconds and you get roughly 3.5 Mbps for everything in the file. Take out 128 kbps of AAC audio and about 5% of container overhead and you are left with roughly 3.2 Mbps of video — a comfortable 720p budget for one minute. Stretch the same clip to three minutes and the video budget falls near 1 Mbps, which is where faces smear and screen text stops being readable. Duration is the lever people forget.
That math is only useful once you know the number you are aiming at. Limits checked in July 2026:
- Gmail: 25 MB, above which the attachment is converted to a Google Drive link (Gmail Help, 2026)
- Outlook: 20 MB for internet email accounts, with a OneDrive link offered for anything larger (Microsoft Support, 2026)
- Discord: 10 MB per file on the free tier (Discord Support, 2026)
- Slack: 1 GB per file (Slack Help, 2026)
- WhatsApp: up to 2 GB when the clip is attached as a document; sending it from the gallery re-compresses it instead, which is why a WhatsApp video often looks worse than the file you picked (WhatsApp, 2026)
Gmail's behavior above 25 MB is the pattern worth copying everywhere else: when the clip is long or visually demanding, a link beats a fourth attempt at a lower bitrate.
For the mechanics of that handoff, this guide to sending a large video file without losing quality compares cloud storage, transfer links, and hosted delivery.
Use FFmpeg for repeatable exports
For a command-line workflow, FFmpeg exposes the same decisions without a graphical interface. It is useful when you need the same operation across a folder of clips or inside an existing script.

ffmpeg -i input.mp4 -c:v libx265 -crf 28 -c:a aac -b:a 128k output.mp4The command is a starting point, not a universal preset. Change one variable at a time, inspect the result, and do not use H.265 when the receiving device or application requires H.264. When you need a fixed output size, calculate a target bitrate and use a controlled multi-pass workflow instead of assuming a CRF value will land under the limit.
Adjust resolution, frame rate, and audio in that order
Bitrate is the lever that costs you the least visible quality, so it should move first. The full order: remove content you do not need, choose a codec the destination can decode, lower bitrate within a quality threshold, then consider resolution or frame rate. Each step trades away a different part of the viewing experience, and the last two are the ones viewers notice.
Resolution
Downscaling is useful when the viewer will watch in a small embedded player or on a phone. It is wasteful when someone will crop, zoom, or reuse the file in a larger edit. Make a smaller delivery copy and keep the full-resolution master; do not overwrite the only version.
Use the destination's display size as your guide. A screen recording with tiny interface text may need more resolution than a talking-head clip even when both are the same duration. The related guide to SD, HD, and 4K resolution explains the detail trade-off in more depth.
Frame rate
Keep the source frame rate for sports, games, camera moves, and any clip where motion smoothness is part of the message. For a static presentation or a simple talking head, a lower frame rate may be acceptable, but test a section with hand gestures and text animation before exporting the whole file.
Mobile editors expose this as an export choice. Apple's iMovie guide for iOS lets you choose output resolution and frame rate, and notes that 60 fps can remain available when much of the project was recorded at that rate (Apple Support, 2026). Make that call deliberately, clip by clip, rather than defaulting every export down to 30 fps to save a few megabytes.
Audio
Remove audio only when silence is part of the design: a muted hero loop or background texture may not need it, while a tutorial, testimonial, or captioned video does. Also check for duplicate tracks such as a production mix, commentary, or second language; removing an unused track reduces the package without altering video frames.
Choose a codec your audience can play
Codec efficiency is only useful when the destination supports the result. The old advice that HEVC works in nearly every modern browser is too broad. Browser and device support varies by operating system, hardware, container, profile, and playback API.
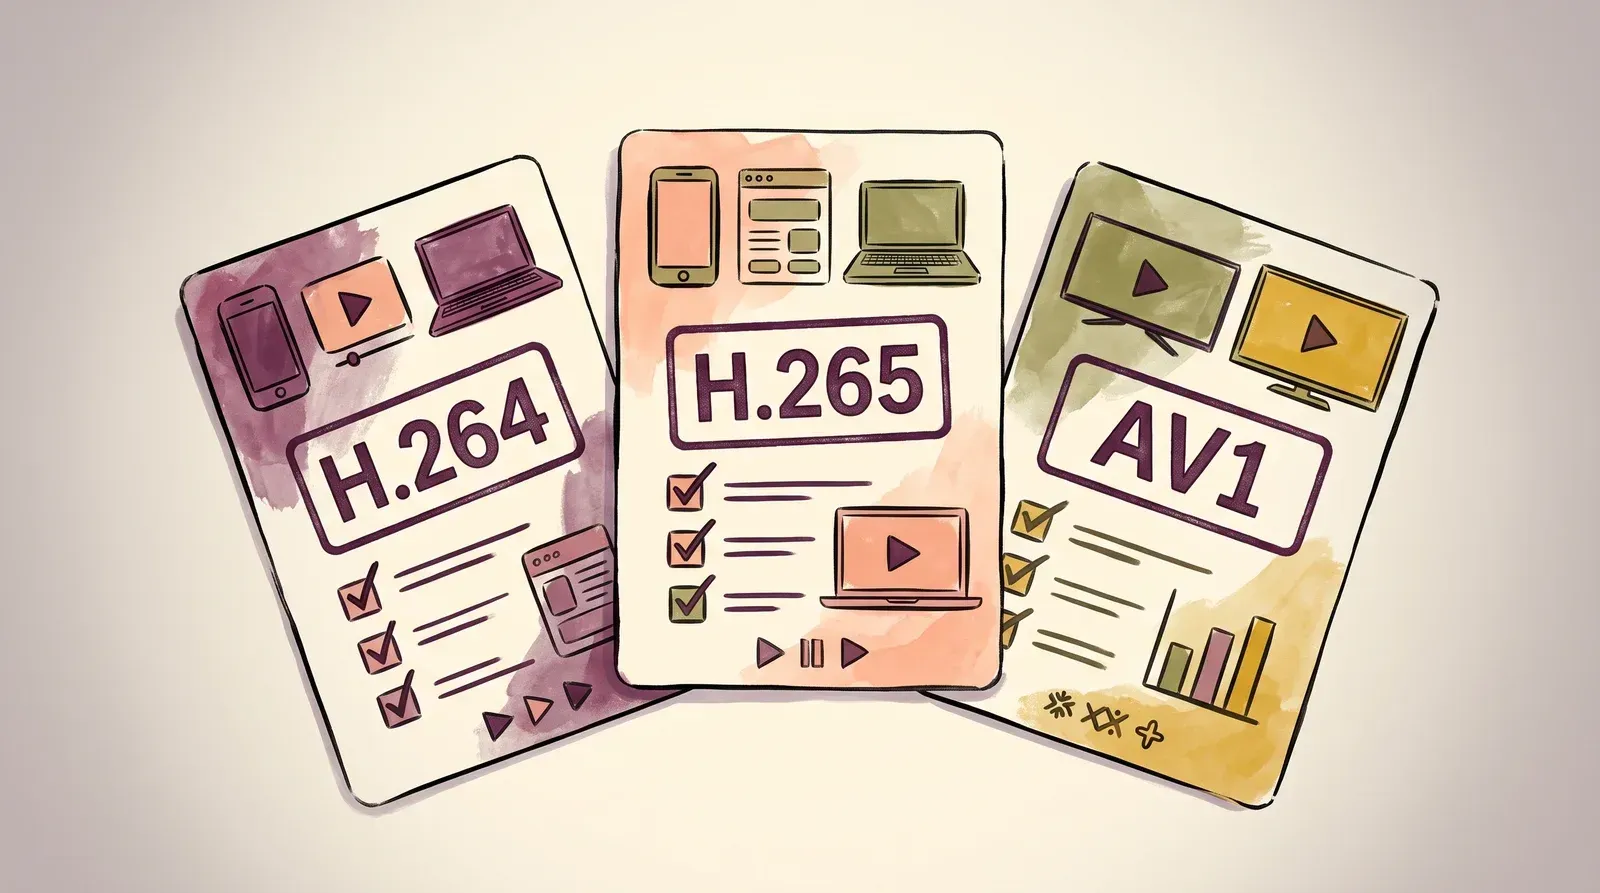
| Codec | Use it when | Trade-off |
|---|---|---|
| H.264 / AVC | You need a broadly compatible MP4 for file sharing, uploads, or unknown devices. | It may require more data than newer codecs at a similar visual quality. |
| HEVC / H.265 | The receiving devices and software are known to support HEVC, especially in a controlled Apple or device workflow. | Compatibility and hardware acceleration are less predictable outside supported platforms. |
| AV1 | You control the delivery stack or can provide a fallback, and encoding efficiency matters over time. | Encoding can take longer, and older hardware may lack efficient decoding. |
MDN describes H.264 as broadly compatible and calls out significant HEVC support gaps outside Apple platforms. It also describes AV1 as more efficient than older codecs while warning that hardware support affects the practical choice (MDN codec selection, 2026). For web delivery, feature detection and a fallback are safer than betting every visitor can decode one file.
AV1 is no longer just a lab experiment: Netflix reported in 2025 that AV1 represented about 30% of its streaming and about 40% of browser playback in its own service snapshot (Netflix TechBlog, 2025). That is useful evidence of production adoption, not a promise that a random recipient's laptop or messaging app will support your AV1 export.
Feature detection and a fallback are exactly what manual compression cannot give you — one export is one compromise, sent to every visitor. A website needs the right rendition per viewer, plus fast startup and a fallback when a codec is unavailable. SmartVideo accepts a high-quality source, creates adaptive versions, and delivers the appropriate stream through a CDN. See SmartVideo plans and start a free trial.
Compress a video on iPhone or Android
Phone workflows are well-suited to trimming, quick sharing, and producing a smaller viewing copy. They are less suitable for a large batch or a master archive because storage space, battery, and app export controls vary.

iPhone
Start in Photos and trim the clip if the extra material is not needed. For more control, open the clip in iMovie, choose Share Video, open Options, and choose the output resolution and frame rate. Apple also documents that sharing through Mail or Messages creates a 360p, 30 fps copy, so use that shortcut only when that reduction is acceptable (Apple Support, 2026).
Before sending the export, play it from the Files or Photos app and inspect text, faces, and audio. If the recipient needs to edit the footage, send the original or a high-quality link instead of the phone-generated small copy.
Android
On Android, Google Photos handles duration: open the clip, tap Edit, drag the trim handles at either end of the timeline, then tap Save copy so the original stays intact (Google Photos Help, 2026). That removes unwanted seconds, but Google Photos exposes no bitrate or codec controls, so it will not get a 4K clip under an attachment limit on its own.
For an actual resolution change on a Galaxy phone, Samsung Gallery has it built in: open the video, tap Edit, tap More options, choose Size and format, select a lower resolution, and tap Save (Samsung Support, 2026). A long or high-resolution clip can take several minutes to write out. Other manufacturers keep the same control in their own gallery editor — look for “resolution,” “quality,” or “size and format” in the export or save step rather than on the editing timeline.
If your phone's editor has no resolution control at all, choose a compressor that states plainly that it processes on-device, and read the permissions it requests before granting access to your camera roll. An app that quietly uploads footage to finish the job carries the same exposure as a browser-based compressor without making that obvious. Keep the original in Google Photos, local storage, or another backup before saving over anything.
Online compressors are convenient but not private by default
Browser tools can help with a one-off clip when a desktop encoder is unavailable, but the video must leave your device and pass through someone else's infrastructure.
- Check the privacy policy: Look for retention, deletion, training, and account-sharing language.
- Check the output: Free tiers may change the resolution, add a watermark, or remove audio.
- Check the limit: Upload caps and export limits change, so do not build a recurring workflow around an unverified number.
- Do not upload sensitive footage: Use HandBrake or FFmpeg locally for customer, legal, medical, unreleased, or internal material.
For a public clip, convenience may outweigh the extra step. For a client archive or company recording, local processing keeps the source away from a third-party compressor.
Why website video needs delivery optimization
Adaptive renditions beat one compromise file
Compressing the source harder does not automatically produce a fast website. The player script still has to load, the browser still has to pick a stream, and the visitor is sitting there through all of it while your carefully shrunk export is only one line item in the wait.

A single MP4 asks a phone on cellular and a desktop on fiber to receive identical data, and the slower connection pays for it in startup time. That routing job is what a video CDN exists to do. That cost is measurable: Google's Core Web Vitals threshold for Largest Contentful Paint is 2.5 seconds at the 75th percentile of page loads, and a hero video that has to download one large file before it paints is a common way to miss it (web.dev, 2026). Adaptive delivery moves that decision from export time, when you are guessing at the visitor, to playback time, when the browser already knows the screen size and the available bandwidth. For broader context on how much video businesses are publishing and where it lands, Wistia's annual State of Video report is a useful industry benchmark (Wistia, 2026).
If the video is going on WordPress, do not solve a hosting and playback problem by uploading an aggressively reduced MP4 to the media library. This guide to why WordPress sites should not host large video files directly explains the storage, bandwidth, and playback consequences. For the broader workflow, see how to optimize video for the web.
SmartVideo's WordPress block and shortcode let you keep the source in a video delivery system while placing the player in a page, widget area, or builder — a hosting decision rather than a compression one.
In our own video-delivery work, the pages that load slowly are rarely the ones with a large master file — they are the ones handing that single file to every visitor regardless of device or connection. Shaving a few megabytes off an export does nothing when the real bottleneck sits in the delivery path: a large player script, no lazy loading, or one rendition sent to every connection. Fixing that path improves the visitor experience without asking the publisher to keep exporting new copies by hand.
Quality-control checklist before you delete the original
Compression is finished only after the output survives a short inspection. Do not judge it from a paused thumbnail or from the encoding progress bar. We've seen site owners discover a missing audio track or a dropped caption file only after the video was already published.
- Compare difficult scenes: Check faces, hair, foliage, smoke, water, camera pans, shadows, and gradients. These reveal blockiness, banding, ringing, and smearing quickly.
- Check the audio: Listen for missing tracks, sync drift, clipped speech, and a changed channel layout.
- Check accessibility: Confirm that subtitles, captions, chapters, and alternate audio tracks survived the export.
- Check technical details: Confirm dimensions, frame rate, rotation, color handling, and the codec/container combination.
- Check the actual size: Read the output file size and test the upload or attachment, not just the export estimate.
- Test the destination: Open the file on the target phone, browser, player, or platform. A file that works on your editing computer may fail elsewhere.
- Keep the master: Store the original with a clear filename and backup. A compressed copy should be disposable; the source should not be.
When the output fails, change one setting at a time. A higher quality value, a more compatible codec, a larger frame size, or a retained audio track may solve the problem more cleanly than exporting the entire file again with every setting changed.
The short version
There is no single compression setting that preserves every video perfectly. For file sharing, trim first, use a local Constant Quality export, and choose H.264 when compatibility is unknown. For a hard attachment limit, calculate bitrate and leave headroom. For a website, retain the high-quality master and use adaptive delivery so the system can make the quality decision per viewer.
If your goal is smaller, faster website video rather than a smaller file on your hard drive, one bitrate is not the whole job. Reducing website bandwidth usage also covers delivery, caching, lazy loading, and choosing a player that does not send unnecessary third-party requests before playback.