Shutter Speed for Video: Best Settings by FPS (2026)
You followed the 180-degree rule, but your footage still looks pixelated online. Here is how shutter speed actually affects streaming quality and how to fix it.
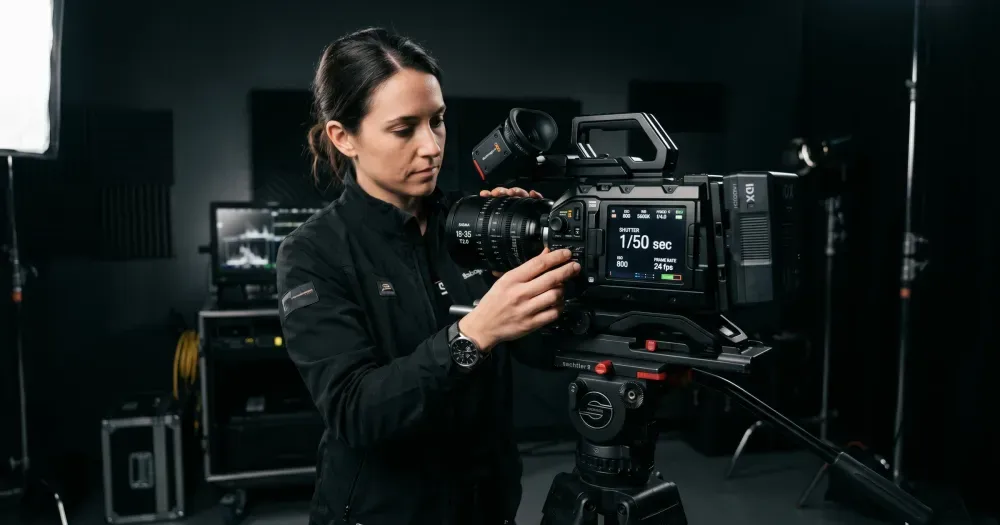
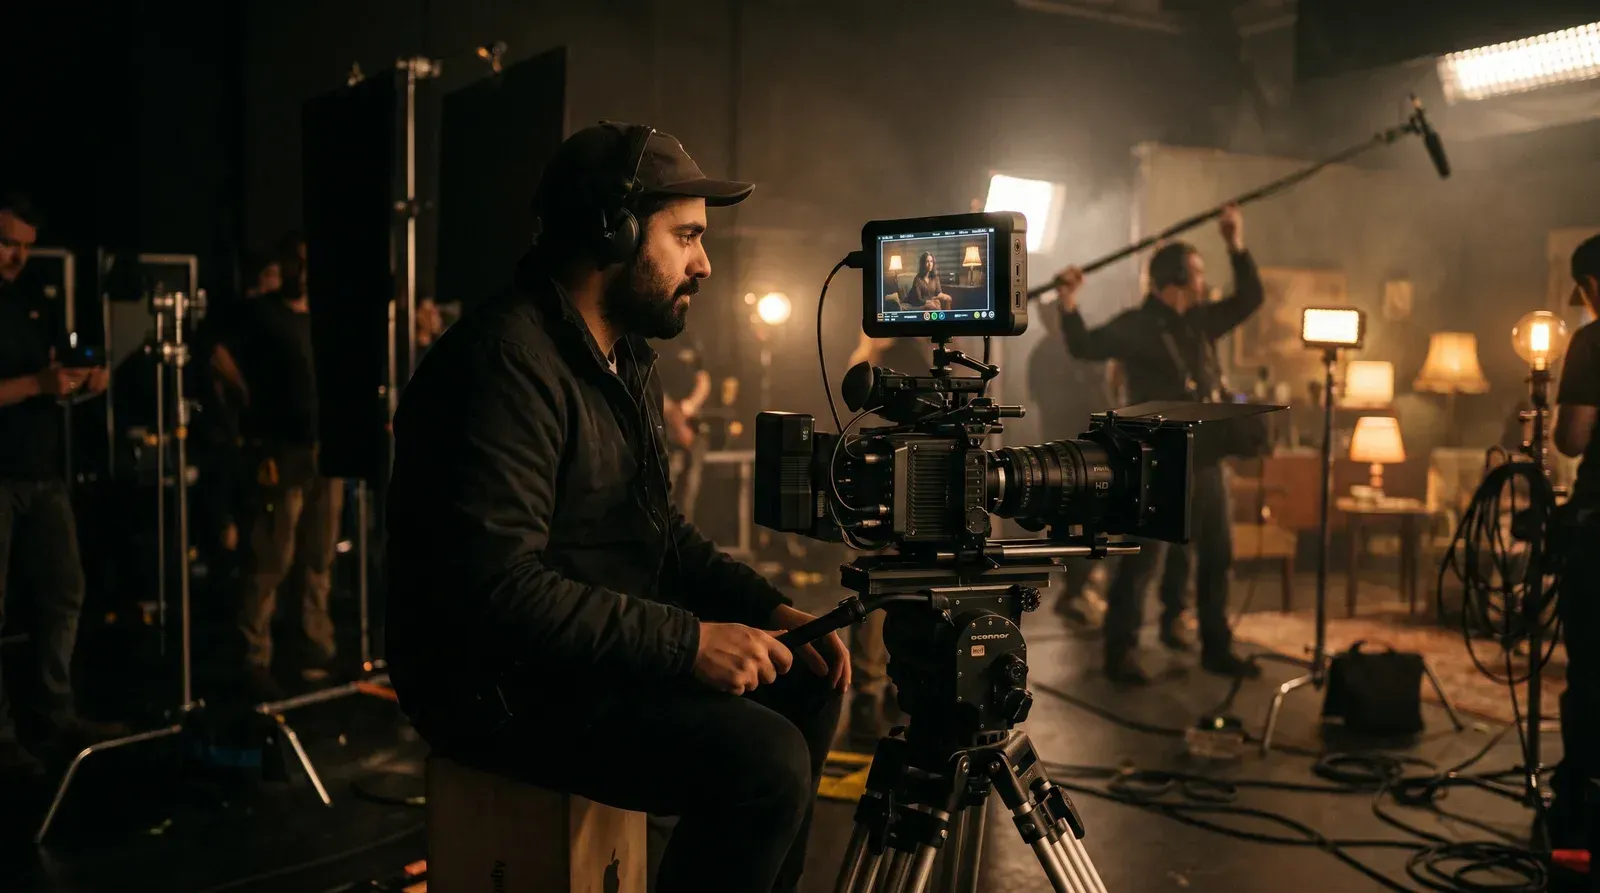
You set your frame rate to 24fps. You locked your shutter speed at 1/50th. On the camera monitor, the footage looked like a high-end film with silky smooth motion. But when you uploaded it to YouTube, that beautiful motion blur turned into a blocky, pixelated mess during fast camera movements.
• The Golden Rule: Set your shutter speed to double your frame rate (e.g., 1/50th for 24fps) to create natural motion blur.
• The Paradox: That same cinematic motion blur is difficult for standard video compression to handle, often causing macroblocking on free hosting platforms.
• The Lighting Fix: Use ND filters to control bright outdoor light without being forced to raise your shutter speed.
• The Delivery: High-motion cinematic footage needs 2-3x the bitrate of static footage to stream cleanly without artifacts.
This is the cinematic paradox of modern video production: the camera settings that make a video look professional to the human eye are the exact same settings that make it much harder for standard streaming platforms to deliver cleanly. The way your camera captures light and movement fundamentally alters the file's data structure.
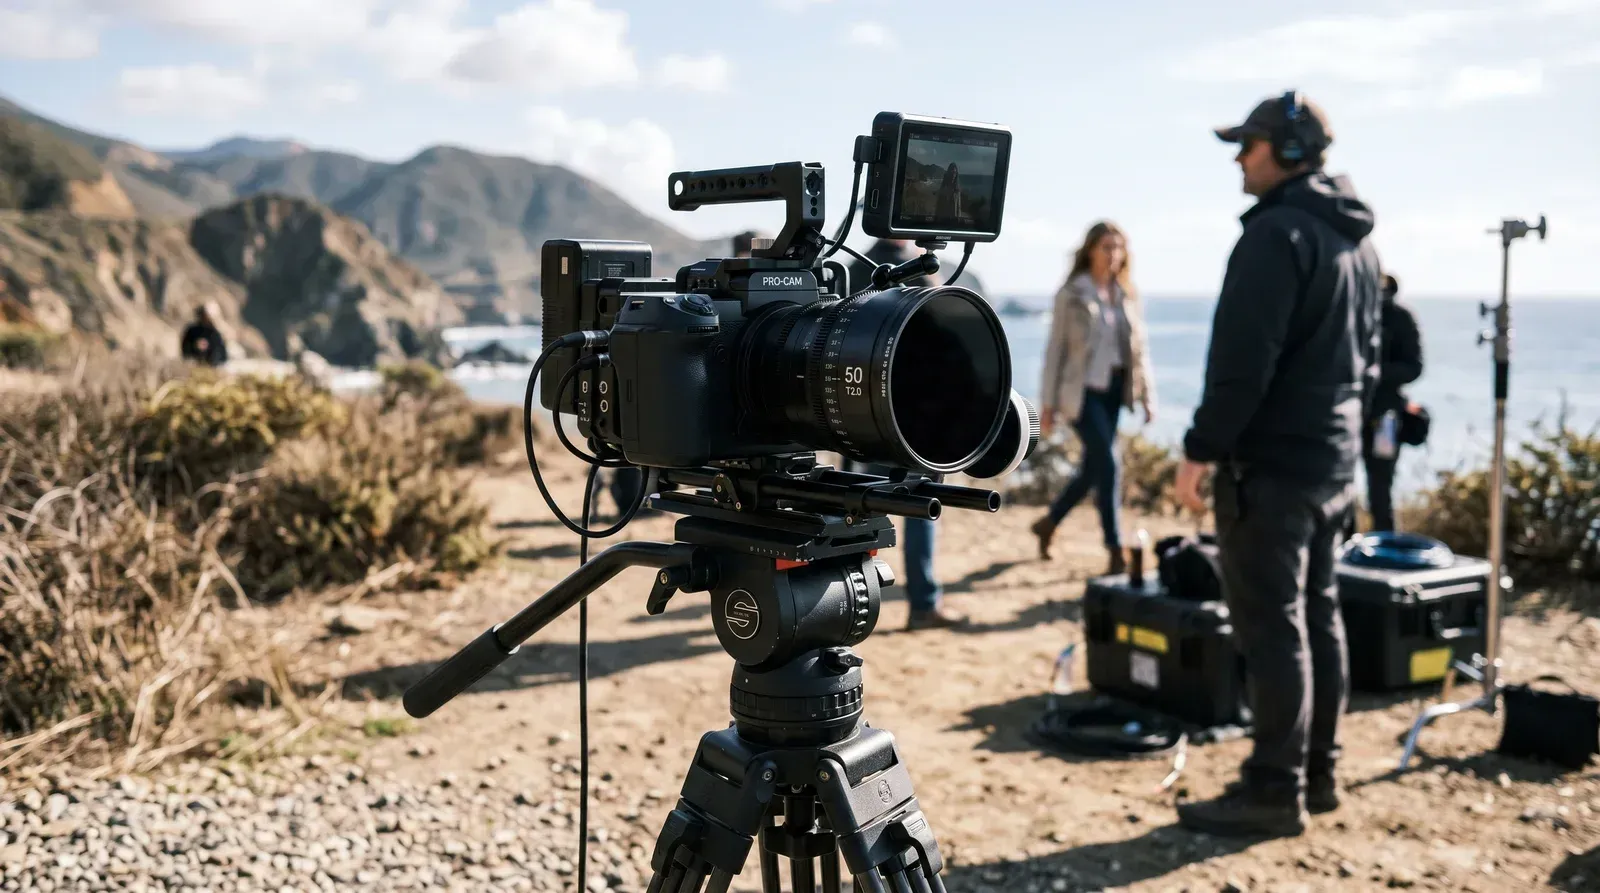
Here is how to master shutter speed for video, from applying the 180-degree rule on set to using the right compression settings so your final export actually survives the internet.
What is Shutter Speed in Video?
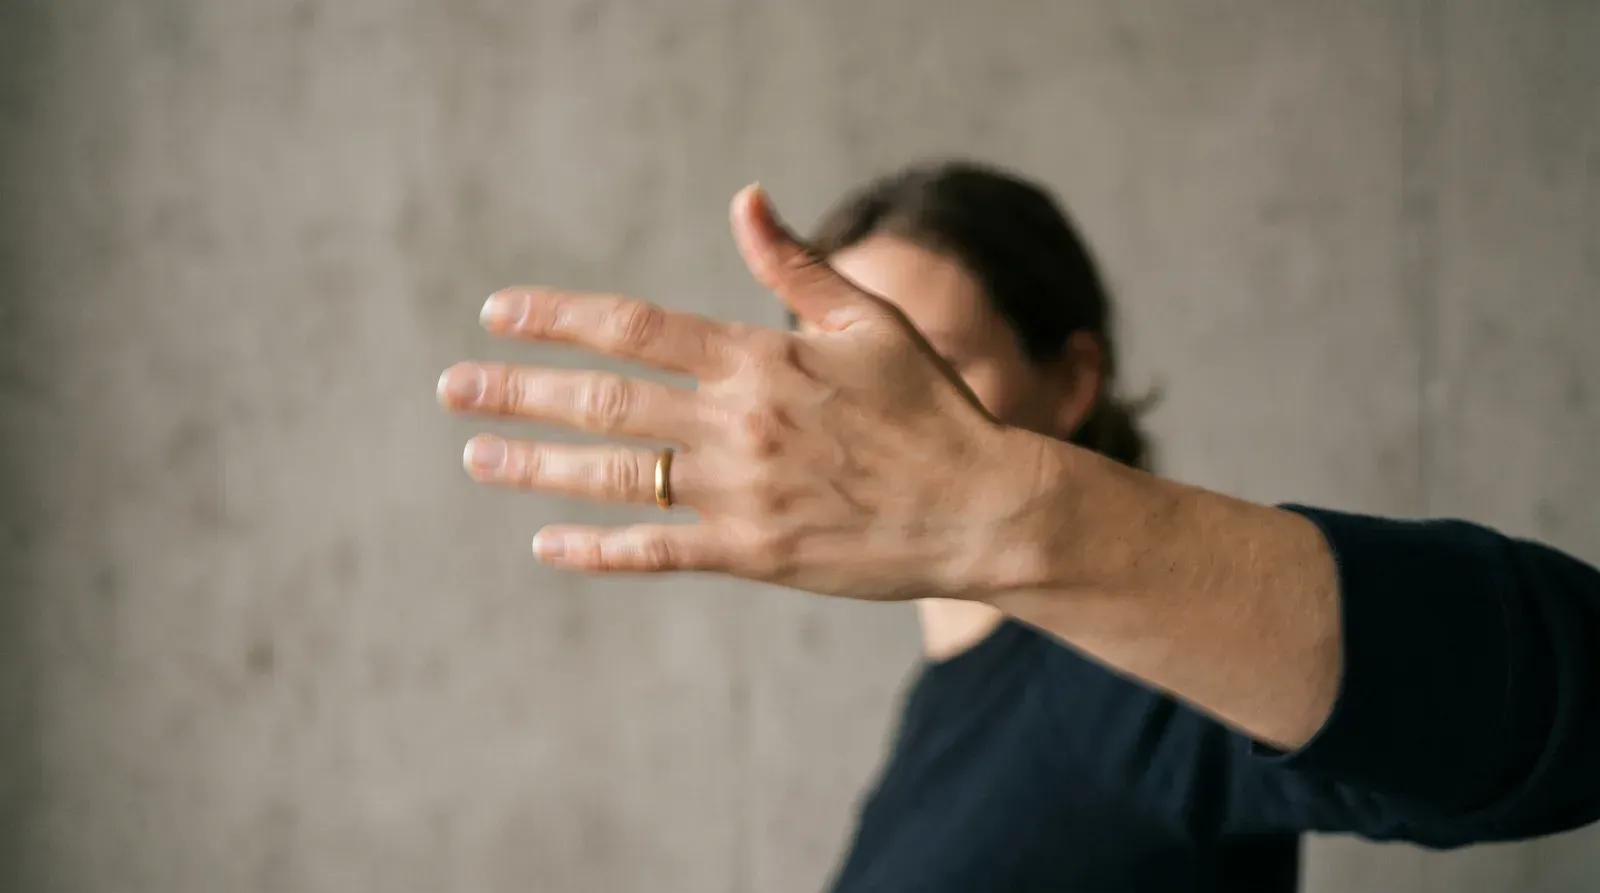
In photography, shutter speed is simply the length of time the camera sensor is exposed to light. A fast shutter freezes a hummingbird's wings in mid-air, while a slow shutter turns a rushing waterfall into a creamy blur.
In video production, it is slightly more complex. Because video is just a rapid sequence of still images played back sequentially, the blur between those individual frames is what convinces our brains that we are seeing continuous, organic motion. Without enough blur, movement looks jittery and harsh -- like a strobe light. With too much blur, the scene looks like a dream sequence.
The standard formula for capturing cinematic motion blur. It states that your shutter speed should be the reciprocal of double your frame rate (StudioBinder, 2025).
Formula: Shutter Speed = 1 / (2 × Frame Rate)
This perceptual principle is why nearly every major film since the 1970s has been shot at or near this specific timing (StudioBinder, 2023). It closely mimics how the human eye naturally perceives movement in the real world.
What Are the Best Shutter Speed Settings by Frame Rate?
Here are the standard settings for the most common frame rates. Note that most DSLR and mirrorless cameras do not have exact 1/48th or 1/120th second settings, so you use the closest available fraction.
| Frame Rate | Ideal Shutter Speed | Closest Camera Setting | Best For |
|---|---|---|---|
| 24 fps | 1/48 sec | 1/50 sec | Cinematic, narrative, "film look" |
| 25 fps | 1/50 sec | 1/50 sec | PAL broadcast (UK, Europe, Australia) |
| 30 fps | 1/60 sec | 1/60 sec | TV broadcast, vlogs, news |
| 50 fps | 1/100 sec | 1/100 sec | European sports, 50Hz slow-motion |
| 60 fps | 1/120 sec | 1/125 sec | Sports, gaming, conformed slow-motion |
| 120 fps | 1/240 sec | 1/250 sec | High-speed slow-mo, action b-roll |
Stick to these settings on set and your motion will look right in-camera. The catch: that same blur is what often pixelates the file once you put it online. More on that in the macroblocking section below, or jump straight to a player built for high-bitrate motion.
How Do You Fix Overexposure from Slow Shutter Speeds?
Here is the scenario where many beginners make their first major mistake. You are shooting outside at noon. You want a shallow depth of field for a blurry background (f/2.8 aperture), and you need to stick to the 180-degree rule (1/50th shutter). Because the shutter is open relatively long, the result is a completely white, overexposed image.
The natural instinct is to crank the shutter speed up to 1/1000th of a second to darken the image.
Why You Need ND Filters
Raising your shutter speed destroys the cinematic motion blur. Your footage starts to look like a jittery action camera or chaotic reality TV. To fix overexposure while maintaining a slow shutter, you need a Neutral Density (ND) filter.
An ND filter acts like a pair of high-end sunglasses for your camera lens. It uniformly blocks light entering the sensor, letting you keep your shutter slow and your motion smooth even under harsh midday sun. B&H Photo (2025) has detailed guides on picking the right stop strength for varying outdoor conditions. Get this right before you start worrying about video container formats.
Use this as a starting baseline for shooting at 24fps with a 1/50th shutter and an f/2.8 aperture for shallow depth of field:
| Lighting Condition | ND Filter | Aperture | Shutter |
|---|---|---|---|
| Bright outdoor noon | ND 1.8 (6 stops) | f/2.8 | 1/50 sec |
| Overcast outdoor | ND 0.9 (3 stops) | f/2.8 | 1/50 sec |
| Open shade / golden hour | ND 0.6 (2 stops) | f/2.8 | 1/50 sec |
| Indoor practical lighting | None | f/4 | 1/50 sec |
Variable ND filters (which adjust between roughly 2 and 8 stops by rotating the front element) are convenient on run-and-gun shoots, but they can introduce a blue-magenta cross pattern at extreme settings (B&H Photo technical review, 2022). For controlled work, fixed ND filters give cleaner color.
Breaking the Rules: When to Deviate
The 180-degree rule is an aesthetic guideline, not a strict law of physics. Sometimes, the artistic intent or technical requirements of a shot demand that you break it.
High Shutter Speed (Skinny Shutter)
If you set your shutter to 1/200th or higher while shooting 24fps, you create what is known as a skinny shutter. This yields zero motion blur. Every speck of flying dirt from an explosion is crisp, and every punch in a fight scene feels jagged, visceral, and intense.
This technique was famously used in the opening D-Day sequence of Saving Private Ryan to create a visceral sense of chaos. Beyond aesthetic choices, a fast shutter is practically mandatory for green screen production. Natural motion blur on a green screen creates a muddy green "halo" around the subject's edges that is nearly impossible to key out cleanly. You shoot with a fast shutter to capture razor-sharp edges, then synthetically add the blur back during post-production.
Low Shutter Speed (Dragging Shutter)
If you drop your shutter speed below your frame rate (e.g., a 1/15th second shutter at 24fps), the shutter stays open longer than the duration of a single frame. This creates a dragging shutter.
This setting creates a smeary, heavy ghosting effect. It is a highly stylized look frequently used to depict dream sequences, disorientation, or the feeling of intoxication on screen.
The Hidden Trap: Why Motion Blur Kills Compression
You captured beautiful, cinematic motion blur on set -- now you have to stream it to viewers online.
Video compression algorithms work by looking for visual elements that remain static between frames. If an actor is speaking against a plain wall, the compressor simply says, "keep the background pixels the same, only update the pixels where the mouth is moving." This is how you reduce video file size effectively.
How Macroblocking Happens
Cinematic motion blur ruins that efficiency. When you pan a camera using a 1/50th shutter, every single pixel on the screen changes color and position simultaneously in a complex, soft gradient. The compressor struggles to find static blocks to reuse, forcing it to describe millions of rapidly changing pixels at once.
The data demands of this are not subtle. A static talking-head shot at 1080p H.264 typically streams cleanly at 4-6 Mbps, but the same scene with heavy panning at 1/50th often needs 10-15 Mbps to avoid macroblocking on the same codec -- a 2-3x jump from a single creative choice. The team at Unified Streaming (2026) frames this as a fundamental math problem: more motion complexity demands exponentially more data.
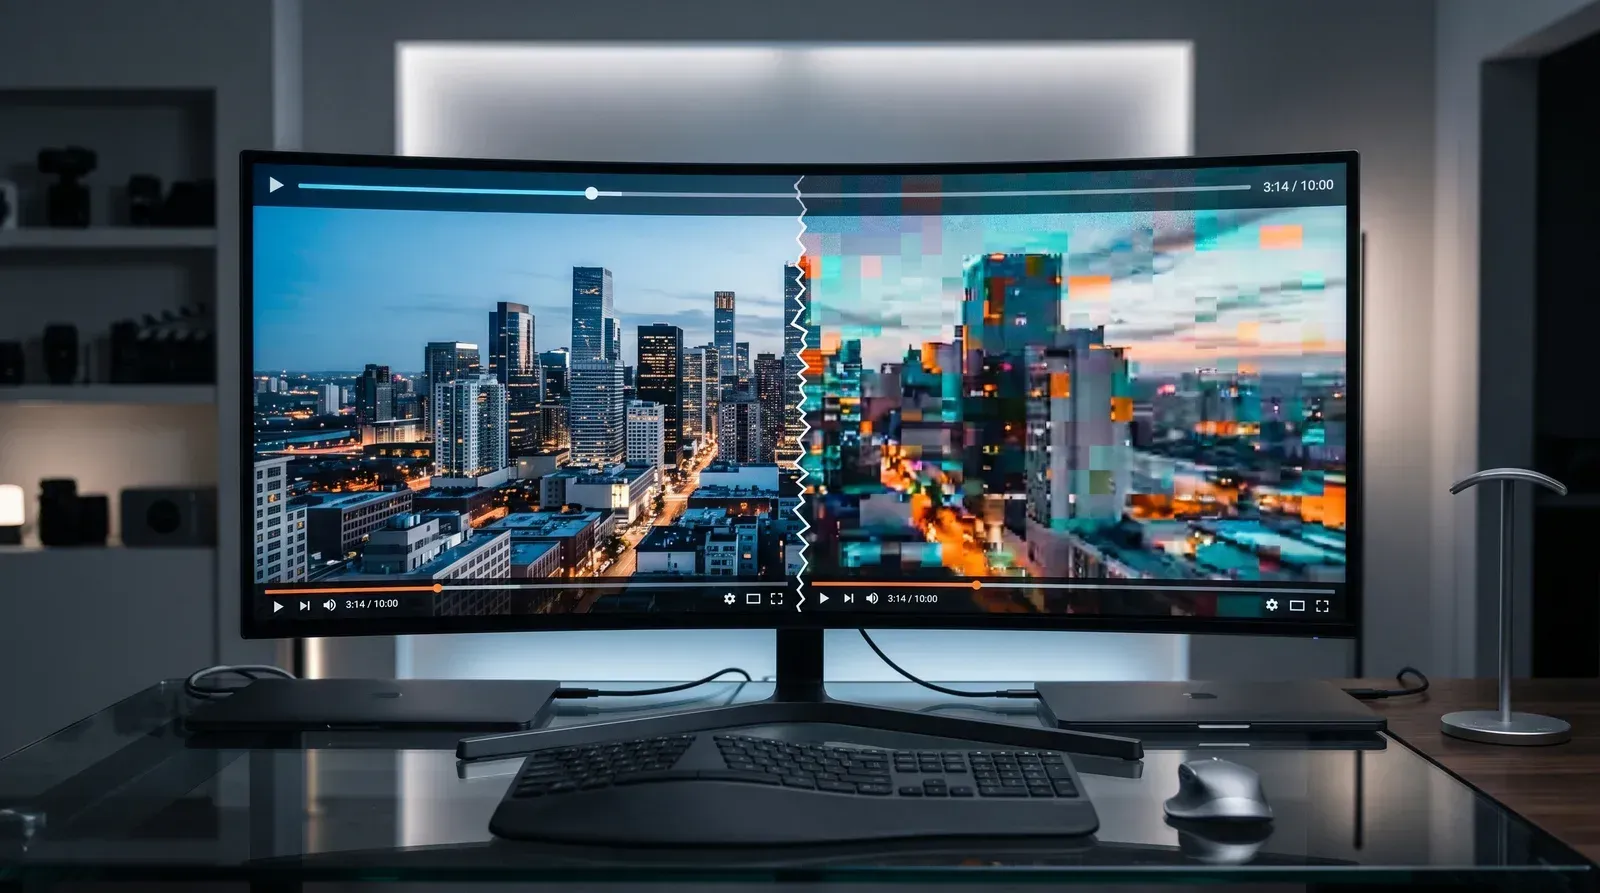
If your video bitrate is capped (which happens routinely on free, ad-supported hosting platforms), the encoder gives up. It turns those complex cinematic blurs into blocky squares known as macroblocking. Viewers see endless stuttering and frozen videos while the player tries to buffer the massive data load.
Standard players aggressively compress high-motion video to save bandwidth, ruining your motion blur. SmartVideo uses intelligent encoding and unmetered bandwidth to preserve your visual quality without the buffering wheel.
How Do You Fix Shutter Speed Issues in Post-Production?
If you accidentally left your shutter speed too high and your footage looks choppy, there are ways to salvage it.
Adding Motion Blur Software
You cannot easily remove motion blur if your shutter was too slow, but you can add it if your shutter was too fast. Professional post-production tools like ReelSmart Motion Blur (RSMB) or the native Pixel Motion Blur effect in Adobe After Effects analyze the movement vectors of pixels and synthesize a realistic blur over the sharp frames.
Correcting Light Flicker
Another common issue when dealing with shutter speed indoors is light flicker. Artificial lights pulse at the frequency of the local power grid (60Hz in North America, 50Hz in Europe and parts of Asia, per Utility frequency reference data).
If your shutter speed does not align with that frequency, you will capture ugly, scrolling horizontal bands across your footage. To fix this on set, adjust your shutter (e.g., shoot at 1/50th or 1/100th in a 50Hz country, or 1/60th or 1/120th in a 60Hz country). If you catch it in post-production, anti-flicker plugins from Digital Anarchy can analyze the frame cadence and blend the exposure to remove the banding.
What Are the Best Export Settings for High-Motion Video?
If your cinematic look is non-negotiable and you refuse to shoot with a faster shutter just to appease YouTube's compression, you need to rethink your export strategy.
Optimizing Your Bitrate
Do not rely on the default "Match Source" presets in your editing software. Instead, use a 2-pass Variable Bitrate (VBR) setting. This forces the encoder to scan the video first to identify the complex, high-motion sections (where the motion blur is heaviest) and then allocate a higher data rate specifically to those moments during the second pass. The FFmpeg H.264 guide walks through the exact two-pass flags if you are encoding outside a GUI editor.
The stakes for getting this right are high: 82% of people say watching a brand's video convinced them to buy a product or service (Wyzowl, 2024). Viewers begin abandoning streams after just 2 seconds of buffering delay, with abandonment increasing by roughly 6% for every additional second of waiting (Akamai-UMass IMC study, 2012). Spending thousands on camera gear only to compress the file into a buffering, pixelated mess is exactly the great video hypocrisy. Taking the extra time to optimize your bitrate is no longer optional if you want viewers to stay engaged past the first ten seconds.
Final Thoughts
Shutter speed is the heartbeat of your video's aesthetic. Sticking to the 180-degree rule (1/50th for 24fps) for the vast majority of your work maintains professional, realistic motion. Get it right in the camera, use ND filters outdoors, and you will save yourself a world of post-production headaches. But remember that the "cinematic look" inherently comes with a heavy data cost.
If you are tired of seeing your perfectly shot footage degrade into pixelated macroblocks once it hits your website, the problem might not be your camera -- it might be the video player you are using. Embedding YouTube videos will artificially impact your site speed and force your video through aggressive compression. A fast, distraction-free player that handles high-bitrate streaming preserves the look you spent the money to capture.