How to Edit Videos: Beginner Workflow, Tools, and Export Settings
A practical beginner workflow for editing videos, fixing blurry exports, and publishing to YouTube, Shorts, TikTok, and Reels.
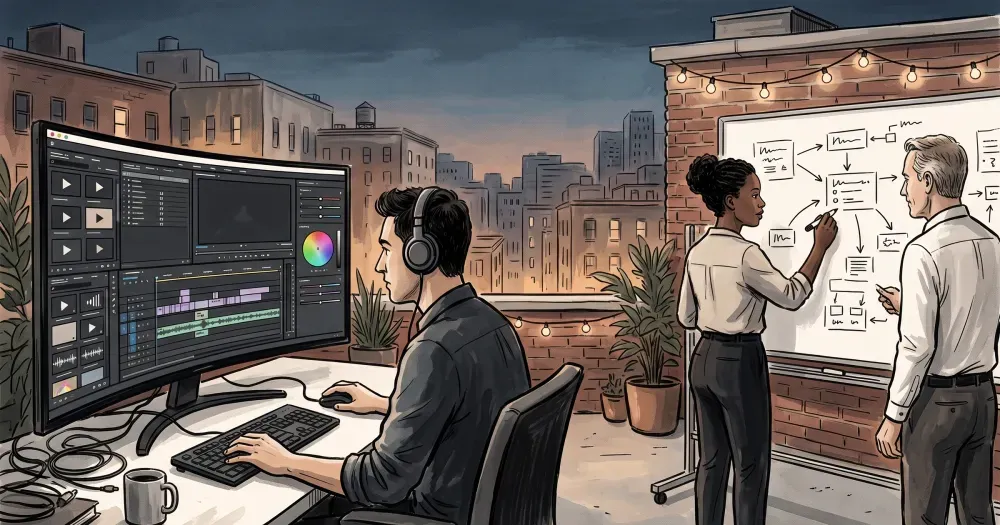
Most beginners should edit videos with a repeatable workflow: plan the story, trim hard, fix audio first, add captions, and export for each platform. That process matters more than any single app, especially when 91% of businesses use video (HubSpot, 2026) and YouTube reports over 20 million uploads per day (YouTube, April 2025).
If you want one rule to remember, it is this: tight pacing plus clear audio beats flashy effects. In our anecdotal onboarding notes from a small group of beginner creators (Q1 2026), the biggest lift usually came from cutting dead time and leveling voice audio before touching transitions.
• Start with workflow, not software: Plan, trim, pace, mix audio, caption, then export by platform.
• Prioritize short-form pacing: Marketers report short-form as the top ROI format at 49% (HubSpot, 2026).
• Use platform-specific exports: 16:9 for YouTube, 9:16 for Shorts/TikTok/Reels, with H.264 MP4 for broad compatibility.
• Fix quality issues systematically: Blurry exports, choppy playback, and sync drift usually trace back to bitrate, frame-rate mismatch, or proxy workflow mistakes.
How to edit videos in 10 beginner-friendly steps
- Set your output first: Decide where the video will live (YouTube, Shorts, TikTok, Reels) before you edit.
- Create a project folder: Keep footage, music, voiceovers, graphics, and exports in separate subfolders.
- Build a selects timeline: Pull only usable clips into one sequence.
- Make the rough cut: Arrange clips by story, not perfection.
- Trim aggressively: Remove pauses, repeats, and weak intros.
- Fix audio early: Reduce noise, level dialogue, and duck background music.
- Add text and captions: Improve clarity and watch-time in sound-off viewing.
- Use transitions sparingly: Straight cuts are usually cleaner.
- Color-correct quickly: Balance exposure and white balance before creative looks.
- Export per platform: Render separate versions instead of one file for everything.
From working with content teams that publish weekly, the common mistake is opening the editor before choosing format and aspect ratio. If you skip that step, you will reframe everything later.
Pick the easiest tool for your setup
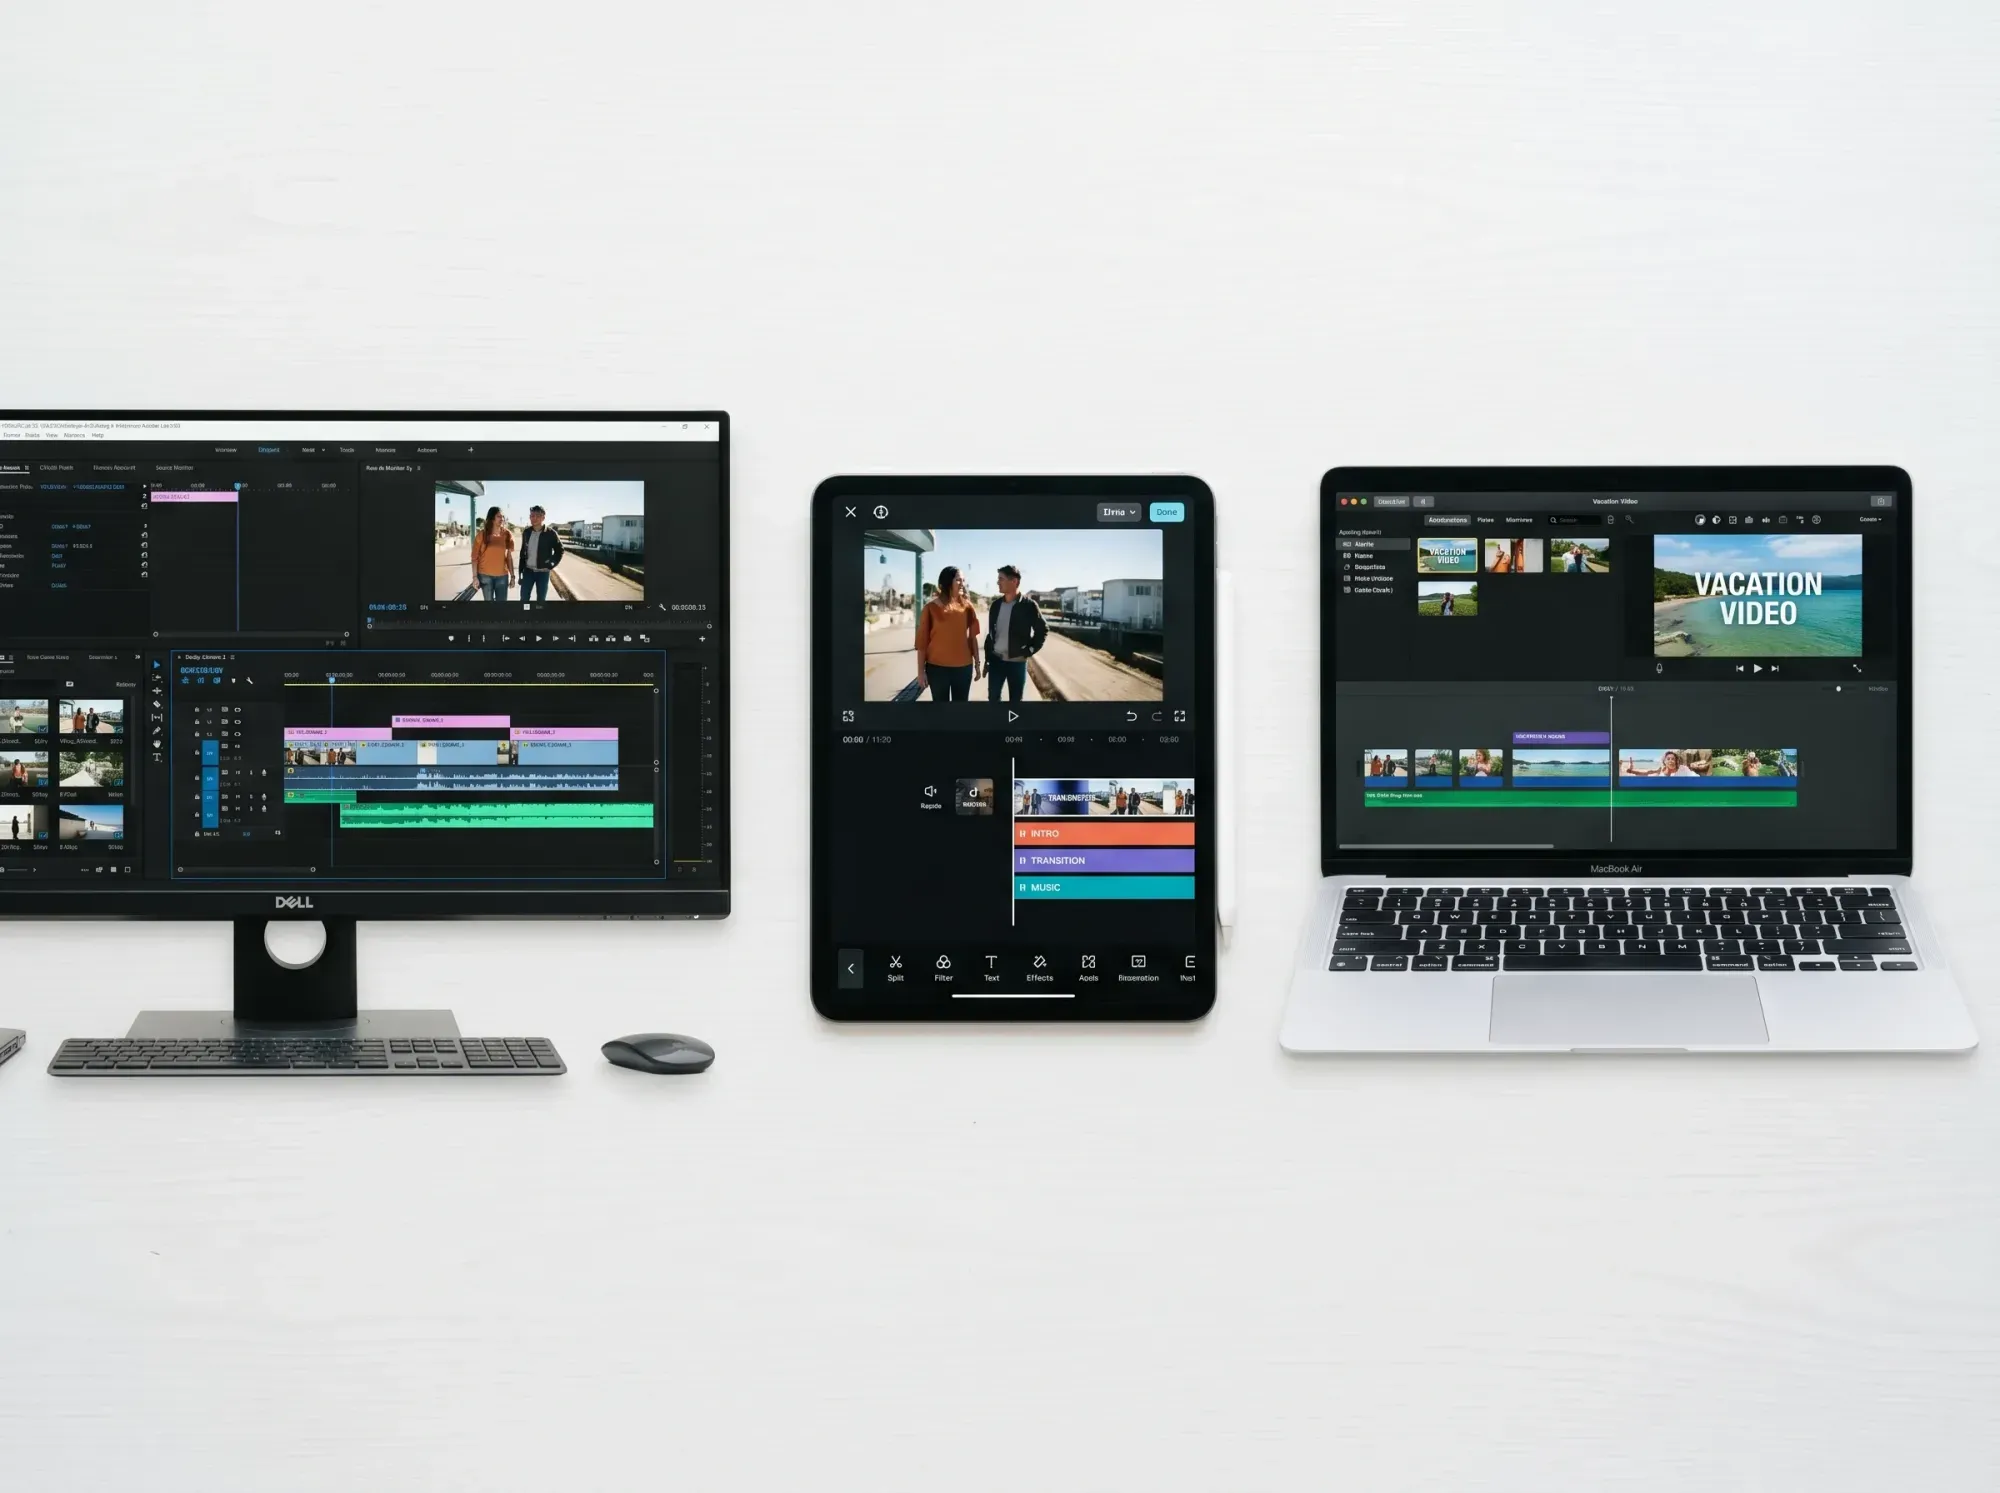
You do not need pro software on day one. Choose an editor that matches your device and your content volume, then stick with it for at least 10 videos before switching.
| Tool | Best for | Pros | Cons |
|---|---|---|---|
| CapCut (mobile/desktop) | Short-form and fast edits | Pros: fast captions, templates, speed controls | Cons: less control for complex long-form timelines |
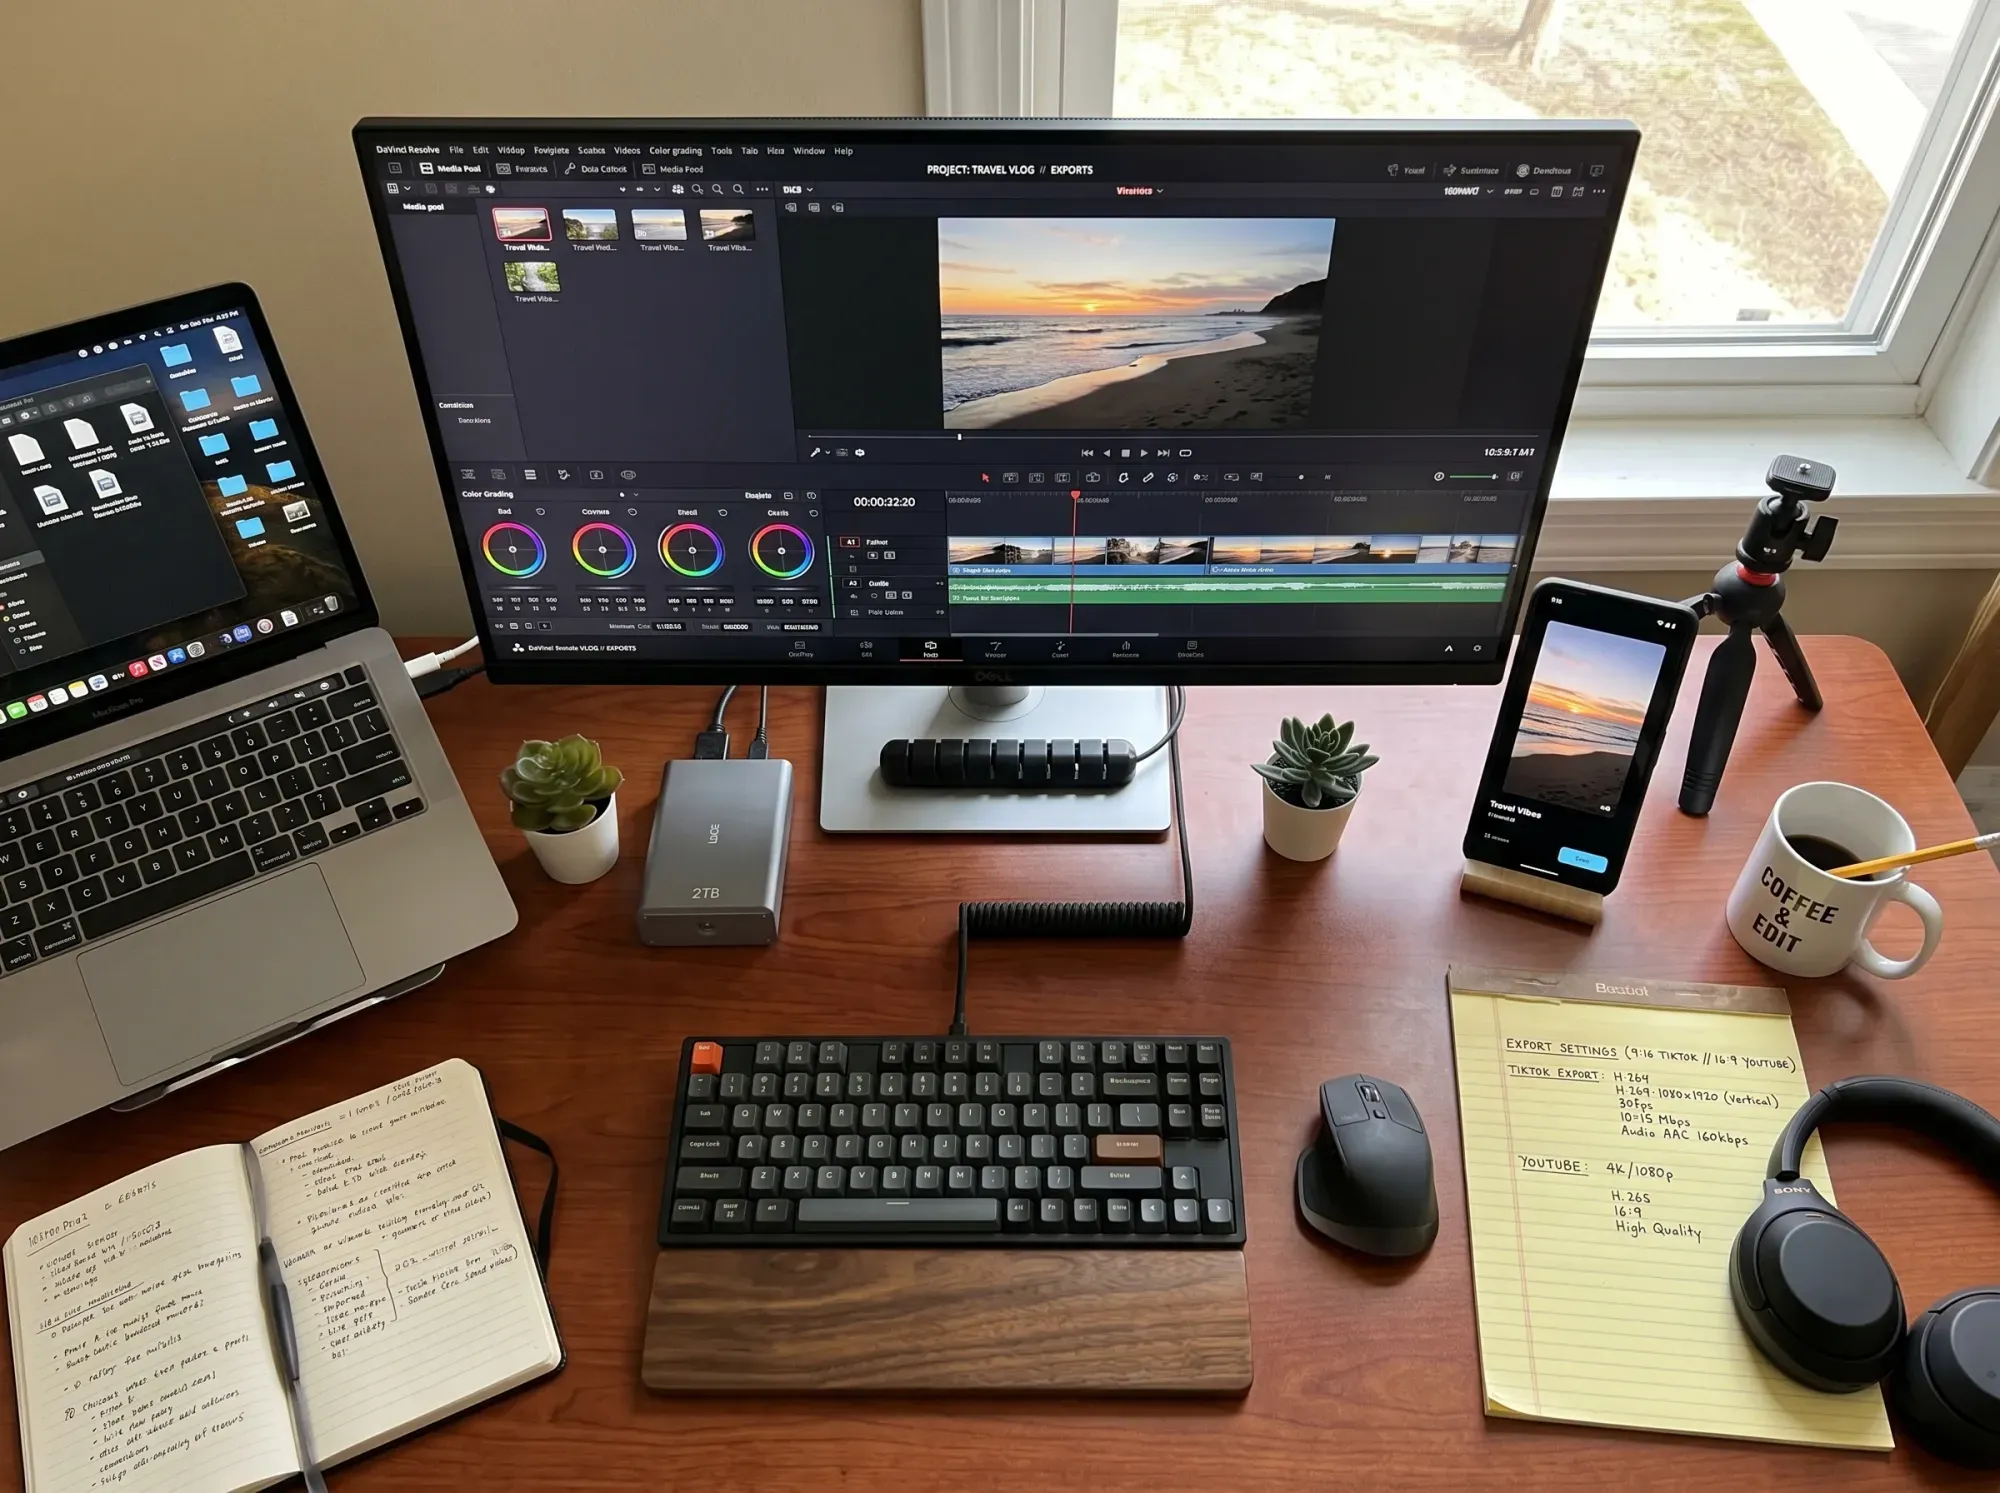
| DaVinci Resolve (desktop) | Free advanced editing and color | Pros: deep features, strong free tier | Cons: steeper learning curve and heavier hardware needs |
| Adobe Premiere Pro (desktop) | Frequent publishing teams | Pros: flexible workflow, strong plugin ecosystem | Cons: subscription cost and setup complexity |
| iMovie (Apple) | Simple personal videos | Pros: easy timeline, low learning friction | Cons: limited precision controls for scaling output |
| Clipchamp (browser) | Quick edits on lower-end machines | Pros: minimal setup, quick social exports | Cons: browser performance varies with project size |
If your laptop struggles with playback, use proxy files before upgrading hardware. In first-time editing setups, proxy workflows are often the first fix to try before a hardware purchase, especially when working in 4K. If you need a quick refresher on quality trade-offs, see SD vs HD vs 4K differences.
Short-form workflow: YouTube Shorts, TikTok, and Reels
For short-form, the first 2 seconds decide whether viewers stay. In practice, that means your rough cut should begin at the first meaningful visual or sentence, not with a greeting or logo animation.
Step-by-step for a 30-60 second edit
- Open with a visual payoff or direct claim.
- Cut every pause longer than about 0.3 to 0.5 seconds unless it adds emphasis.
- Add on-screen keywords for each beat.
- Keep background music lower than voice and automate dips under dialogue.
- Add captions and check line breaks for mobile readability.
- Export 9:16 and test once on phone before publishing.
This matters because viewers expect tight pacing: recent marketing data shows 51% of people prefer 30-60 second videos and 91% prefer videos under 2 minutes (HubSpot, 2026).
Long-form workflow: 8-15 minute YouTube videos
Long-form editing is less about speed and more about structure. A common mistake in early long-form projects is treating long-form like one continuous take. In anecdotal workflow audits with weekly publishing teams (Q1 2026), block-based edits were easier to revise without breaking pace. Instead, break the project into story blocks and edit each block to one clear purpose.
Block-based long-form structure
- Hook (0:00-0:20): Show outcome and stakes.
- Context (0:20-1:00): Explain what the viewer will get.
- Main sections: One problem and one resolution per segment.
- Pattern interrupts: Add cutaways, zooms, or graphics every 20-40 seconds.
- Recap + next step: Summarize and direct to the next action.
If your footage feels visually flat, add cutaways from your own b-roll library or curated sources. This post on free b-roll sites can help you patch pacing gaps without forced jump cuts.
Export settings cheat sheet (publish everywhere)
Export settings are where many beginner edits lose quality. In beginner troubleshooting sessions, many "my video looks blurry" complaints trace to low bitrate, wrong aspect ratio, or exporting a second-generation file repeatedly.
| Platform | Aspect ratio | Resolution | Format/codec | Notes |
|---|---|---|---|---|
| YouTube (long-form) | 16:9 | 1920x1080 or 3840x2160 | MP4 (H.264 + AAC) | Use high-quality source exports per YouTube upload recommendations. |
| YouTube Shorts | 9:16 | 1080x1920 | MP4 (H.264 + AAC) | Keep text within safe margins to avoid UI overlap. |
| TikTok | 9:16 | 1080x1920 | MP4/MOV (H.264 + AAC) | Short sentences and larger caption text read better on mobile. |
| Instagram Reels | 9:16 | 1080x1920 | MP4 (H.264 + AAC) | Review crop zones before posting to avoid clipped text. |
Want cleaner playback after export? Start with bitrate and compression strategy before you upload. This guide on reducing file size for streaming can help you avoid quality drops.
This is also where a fast, distraction-free player like SmartVideo can improve the post-click experience when you publish on your own site, especially if your audience is split across desktop and mobile connections.
Troubleshooting: fix the problems beginners hit first
1) "My video looks blurry after export"
Check sequence resolution, export resolution, and bitrate first. A common failure pattern is editing in 1080p but exporting at lower settings by accident, or re-exporting a previously compressed file multiple times. If YouTube quality still looks soft immediately after upload, wait for higher-resolution transcodes to complete.
2) "Playback is choppy while editing"
Use proxies, lower preview quality, and render timeline previews. For many beginner projects on mid-range laptops, this often resolves choppy editing sessions without changing final output quality.
3) "Audio is too quiet or uneven"
Normalize dialogue first, then mix music below voice using ducking automation. If you can, target consistent perceived loudness throughout the edit so viewers do not keep changing volume.
4) "Audio and video are out of sync"
Match frame rates before editing and avoid mixed variable-frame-rate phone clips in the same timeline without transcoding. Sync drift often shows up later in long edits, so verify sync at the start, middle, and end before final export.
5) "My file is too large to upload"
Lower bitrate gradually, keep resolution appropriate to platform, and use efficient H.264 settings before trying aggressive compression tools.
The first-10-edits checklist
From anecdotal coaching notes with new creators (Q1 2026), this checklist helped prevent common first-month mistakes.
- Pick one platform target before opening your editor.
- Name your files and versions consistently.
- Cut your intro to the first valuable second.
- Trim breath pauses and repeated lines.
- Keep transitions simple unless they explain something.
- Level dialogue before adding music.
- Add captions for accessibility and retention.
- Export a platform-specific file, not one-size-fits-all.
- Watch your export on the actual device type your audience uses.
- Track what held attention and use it in your next edit.
Video is now a mainstream channel, not a side format. Nielsen reported YouTube captured 11.6% of total TV viewing in February 2025 (Nielsen, March 2025), so editing for cross-device viewing is no longer optional.
As you scale, you can also go deeper on captions and upload quality with VTT caption workflows and these factors for choosing a YouTube encoder.
Once your cut is ready, delivery speed and player distractions affect whether people finish the video. See Swarmify solutions.
FAQ
Common editing questions
How do beginners edit videos step by step?
What is the easiest app to edit videos for beginners?
How can I edit videos for free without watermark?
How do I edit videos for YouTube Shorts or TikTok?
What export settings should I use for YouTube videos?
Why does my video look blurry after export?
How do I sync audio and video in editing software?
How long does it take to edit a 10-minute video?
Final take
The fastest path to better videos is not a bigger effects library. It is a disciplined workflow you can repeat every week, from format choice to final export.