Everything You Need To Know About ISO Sensitivity (2026 Update)

• ISO measures signal gain: It controls how much the camera amplifies the signal from the sensor.
• The trade-off is noise: Higher ISOs make the image brighter but introduce digital noise and reduce dynamic range.
• Use Base ISO when possible: Your camera's native Base ISO produces the cleanest image.
• It's part of a triangle: Balance ISO with Aperture and Shutter Speed for perfect exposure.
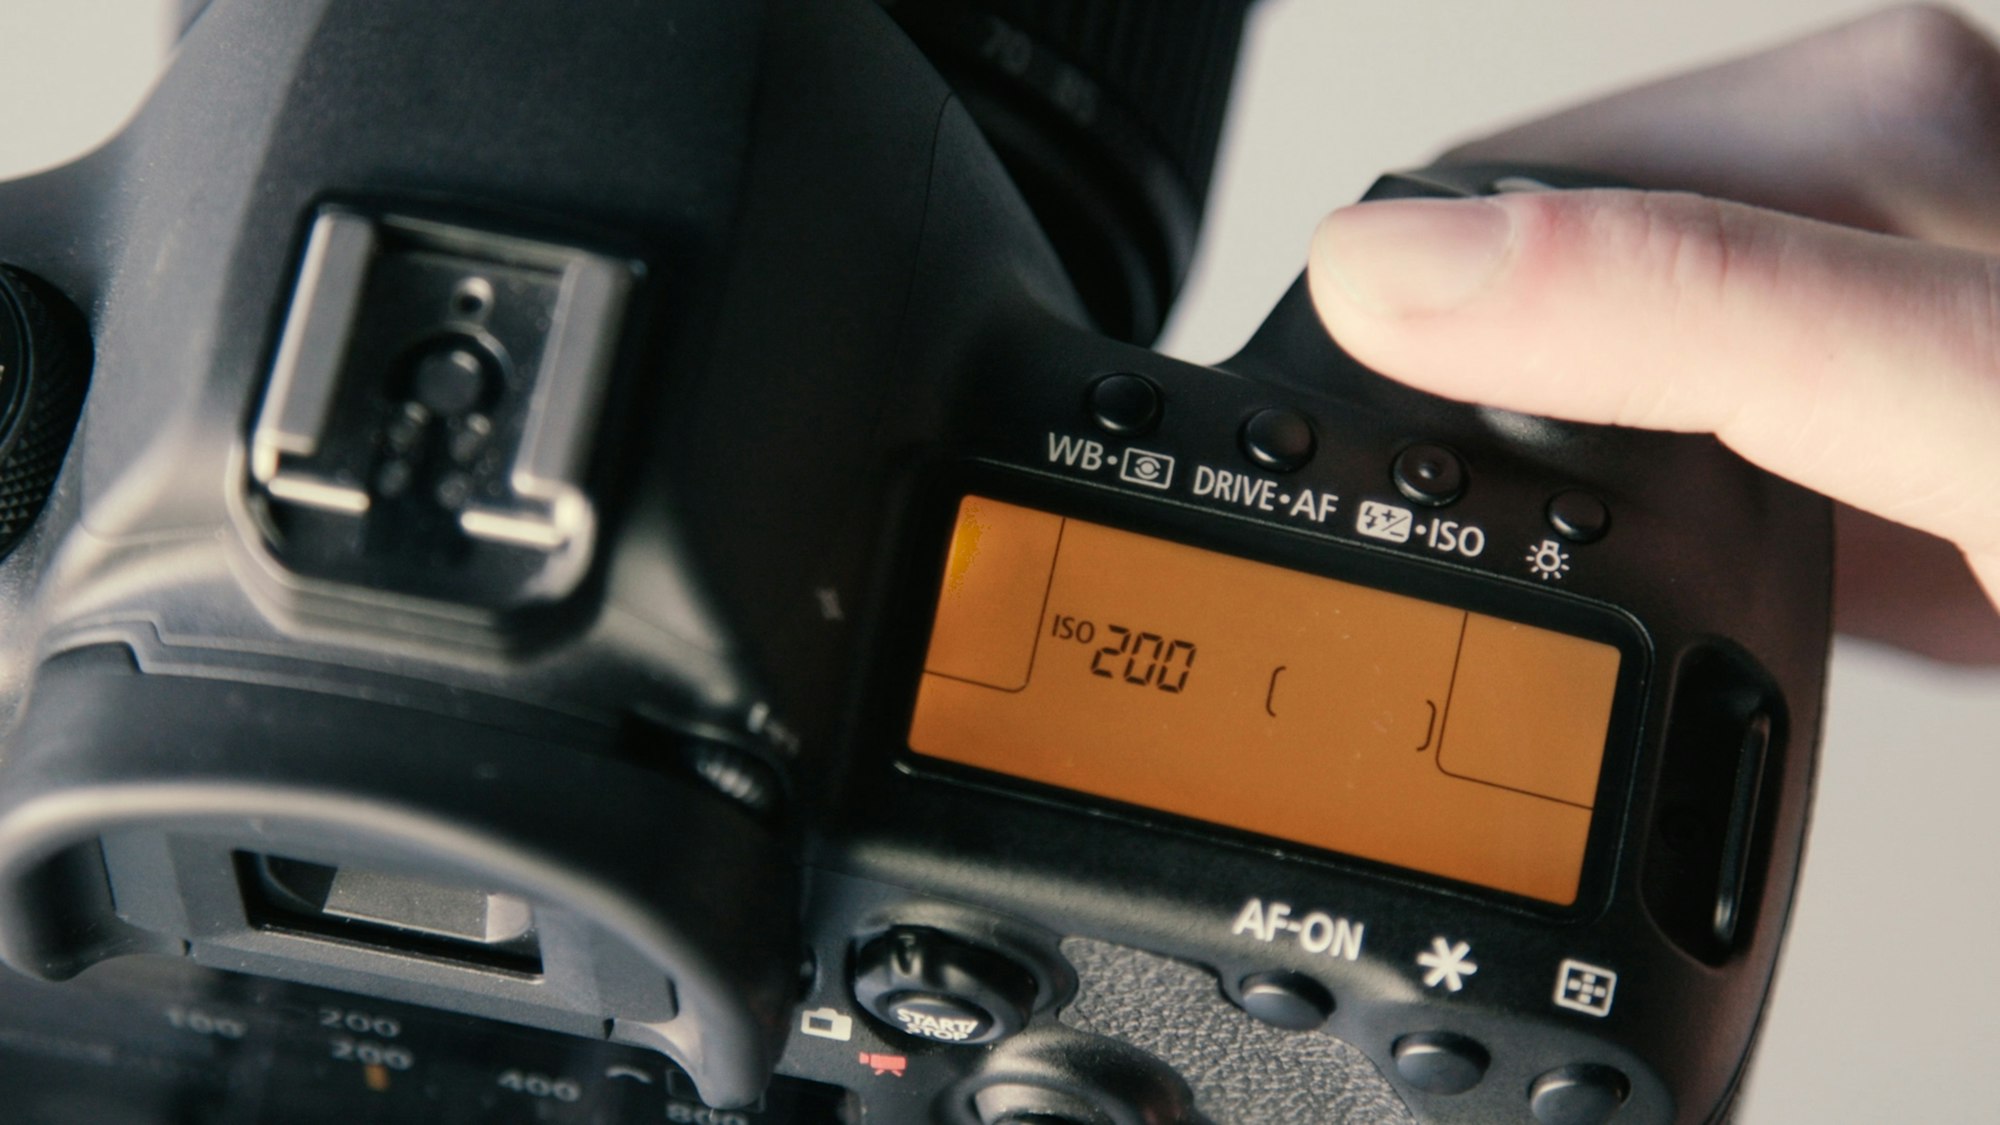
For many beginners, moving from "Auto" mode to "Manual" feels like learning to fly a spaceship. You're suddenly faced with a dashboard of confusing numbers: f-stops, shutter fractions, and the mysterious ISO.
Of the three, ISO is often the most misunderstood. Is it sensitivity? Is it fake light? Why does it ruin my shots with grain?
In 2026, camera technology has evolved with features like Dual Native ISO and ISO invariance, making high-ISO shooting better than ever. But the fundamental physics remain the same. Here is everything you need to know about ISO sensitivity to get cleaner, professional-looking video and photos.
What is ISO Sensitivity? ISO is a camera setting that controls the amplification of the light signal received by the sensor. Increasing the ISO brightens the image but also amplifies background interference, resulting in digital noise or "grain."
The Exposure Triangle: Where ISO Fits In
Photography and videography rely on three pillars of exposure, known as the Exposure Triangle:
- Shutter Speed: How long the sensor is exposed to light (controls motion blur).
- Aperture: How wide the lens opens (controls depth of field).
- ISO: How much the signal is amplified (controls brightness).
Think of it this way: If your camera sensor is a bucket collecting rain (light), the Aperture is the width of the bucket's opening, and the Shutter Speed is how long you leave it out in the rain. ISO doesn't change the amount of rain; it's like taking whatever water you caught and pretending you have more. You get a fuller bucket, but the water might be muddy.
For a deeper dive on how these settings interact, check out our guide to shutter speed for video.
How ISO Values Work (Stops of Light)
ISO follows a geometric progression where each step represents a "stop" of light—a doubling of brightness.
Common ISO Scale:
100 → 200 → 400 → 800 → 1600 → 3200 → 6400 → 12800
- ISO 100 to 200: You doubled the signal amplification (1 stop brighter).
- ISO 100 to 400: You quadrupled the signal amplification (2 stops brighter).
If you increase your ISO from 100 to 400 (up 2 stops), you must balance the exposure by closing your aperture by 2 stops (e.g., f/2.8 to f/5.6) or speeding up your shutter by 2 stops (e.g., 1/50 to 1/200) to keep the same brightness.

The Cost of High ISO: Noise and Dynamic Range
So why not just shoot at ISO 12,800 all the time? Two reasons: Noise and Dynamic Range.
1. Digital Noise (Grain)
Every electronic circuit has a "noise floor"—background static. When you raise the ISO, you amplify the light signal, but you also amplify that static. At high ISOs, this manifests as speckled grain, especially in the shadows. While tools like Topaz DeNoise AI are incredible at fixing this in 2026, it's always better to get a clean shot in-camera.
2. Reduced Dynamic Range
Dynamic range is your camera's ability to capture bright highlights and dark shadows simultaneously. As you increase ISO, dynamic range drops drastically. Sites like Photons to Photos show this clearly in their charts: a camera that captures 14 stops of dynamic range at ISO 100 might only capture 8 stops at ISO 6400, meaning your highlights will blow out white and your shadows will crush to black much faster. You can also check DxOMark to see how your specific sensor performs.
Advanced ISO Concepts: Native, Extended, and Dual Native
Modern cameras have introduced new technologies that change the old rules.
Native vs. Extended ISO
Native ISO is the range of sensitivity the sensor can achieve through standard voltage gain. Extended ISO (often labeled as Lo or Hi) is purely software processing. Setting your camera to "Hi-1" (e.g., ISO 51,200) is essentially the same as taking an ISO 25,600 photo and brightening it in Photoshop. It rarely looks good.
Dual Native ISO
This is a game-changer for video. Cameras like the Sony FX3 or Panasonic LUMIX S5II have two base circuits.
- Low Base (e.g., ISO 640): Cleanest image for bright scenes.
- High Base (e.g., ISO 4000): The camera switches to a different circuit optimized for low light.
This means shooting at ISO 4000 (High Base) might actually look cleaner than shooting at ISO 3200 (Low Base amplified). Check your camera manual to see if you have this feature.
SmartVideo delivers it to your audience without compression artifacts or buffering. See Swarmify's video hosting solutions →
Cheat Sheet: Which ISO Should You Use?
While there is no "correct" setting, these guidelines work for 90% of situations:
| Scenario | Recommended ISO Range | Goal |
|---|---|---|
| Sunny Outdoors | 100 – 200 | Maximum quality, least grain. |
| Overcast / Shade | 400 – 800 | Balance brightness without much noise. |
| Indoors (Window Light) | 800 – 1600 | Compensate for lower light levels. |
| Indoors (Artificial Light) | 1600 – 3200 | Maintain shutter speed to avoid blur. |
| Night / Low Light | 3200 – 6400+ | Capture the shot (grain is acceptable). |
For high-quality video production, you often want to stick to your camera's Native ISOs. If you plan to heavily edit or grade your footage, keeping ISO low is crucial to prevent the image from falling apart. For more on video quality, see our comparison of 4K vs SD vs HD video.

Tips for Better ISO Management
- Open your Aperture first: Before raising ISO, try opening your aperture (lower f-number). This lets in real light instead of amplifying a weak signal.
- Add Light: It sounds obvious, but moving your subject closer to a window or turning on a lamp is always better than cranking the ISO.
- Don't fear the grain: A sharp, grainy photo is better than a blurry, noise-free one. If you need a fast shutter speed to freeze action, raise the ISO.
- Use Auto ISO wisely: Modern cameras have great "Auto ISO" features where you can set a limit (e.g., "Max ISO 6400"). This prevents the camera from accidentally ruining your shot with extreme noise.
- Shoot RAW: If you are taking photos, shooting in RAW gives you much more flexibility to fix noise in post-production using tools like Adobe Lightroom. For video, DaVinci Resolve offers powerful spatial and temporal noise reduction.
By the way, once you've captured your footage, you might need extra clips to fill out your edit. Check out our list of best free stock video sites for high-quality B-roll.
Frequently Asked Questions
What does ISO stand for?
What is the best ISO setting for video?
Does higher ISO affect color?
Can I fix high ISO noise in post-production?
What is ISO Invariance?
Why is my video grainy even at low ISO?
Is Auto ISO good for professionals?
Does high ISO reduce sharpness?
By the way - once your video is polished and ready to share, you need a player that matches your quality standards. Swarmify SmartVideo ensures your content streams buffer-free and at the highest possible quality on your website, automatically handling all the technical heavy lifting.
At Swarmify, our mission is to bring an accelerated, distraction-free video experience to websites of all sizes. Whether you're a website owner, an agency, or you just want to get in on our affiliate program, we have a plan for you!